Rebinding a Children’s Book
19 January 2022 One of the objects I’m working on currently is a children’s story book. After an in-depth condition assessment of the object and a talk with the owner, I decided that that best way to conserve the book was by rebinding it as part of the treatment. The book’s original binding is coming apart and the cover is not protecting it anymore. The illustration pages are also not part of the text block anymore. Rebinding the book is a good way to put the signatures and the loose pages back in one text block. It is quite an invasive treatment, however, the book is not for a museum, but it is meant to be used. It will be pickup, carried and read by the owners. Therefore, it was something to keep in mind during the decision-making process. Rebinding the book is a way to make the book whole again and quite sturdy. That way the owner can use the book safely without losing pages.
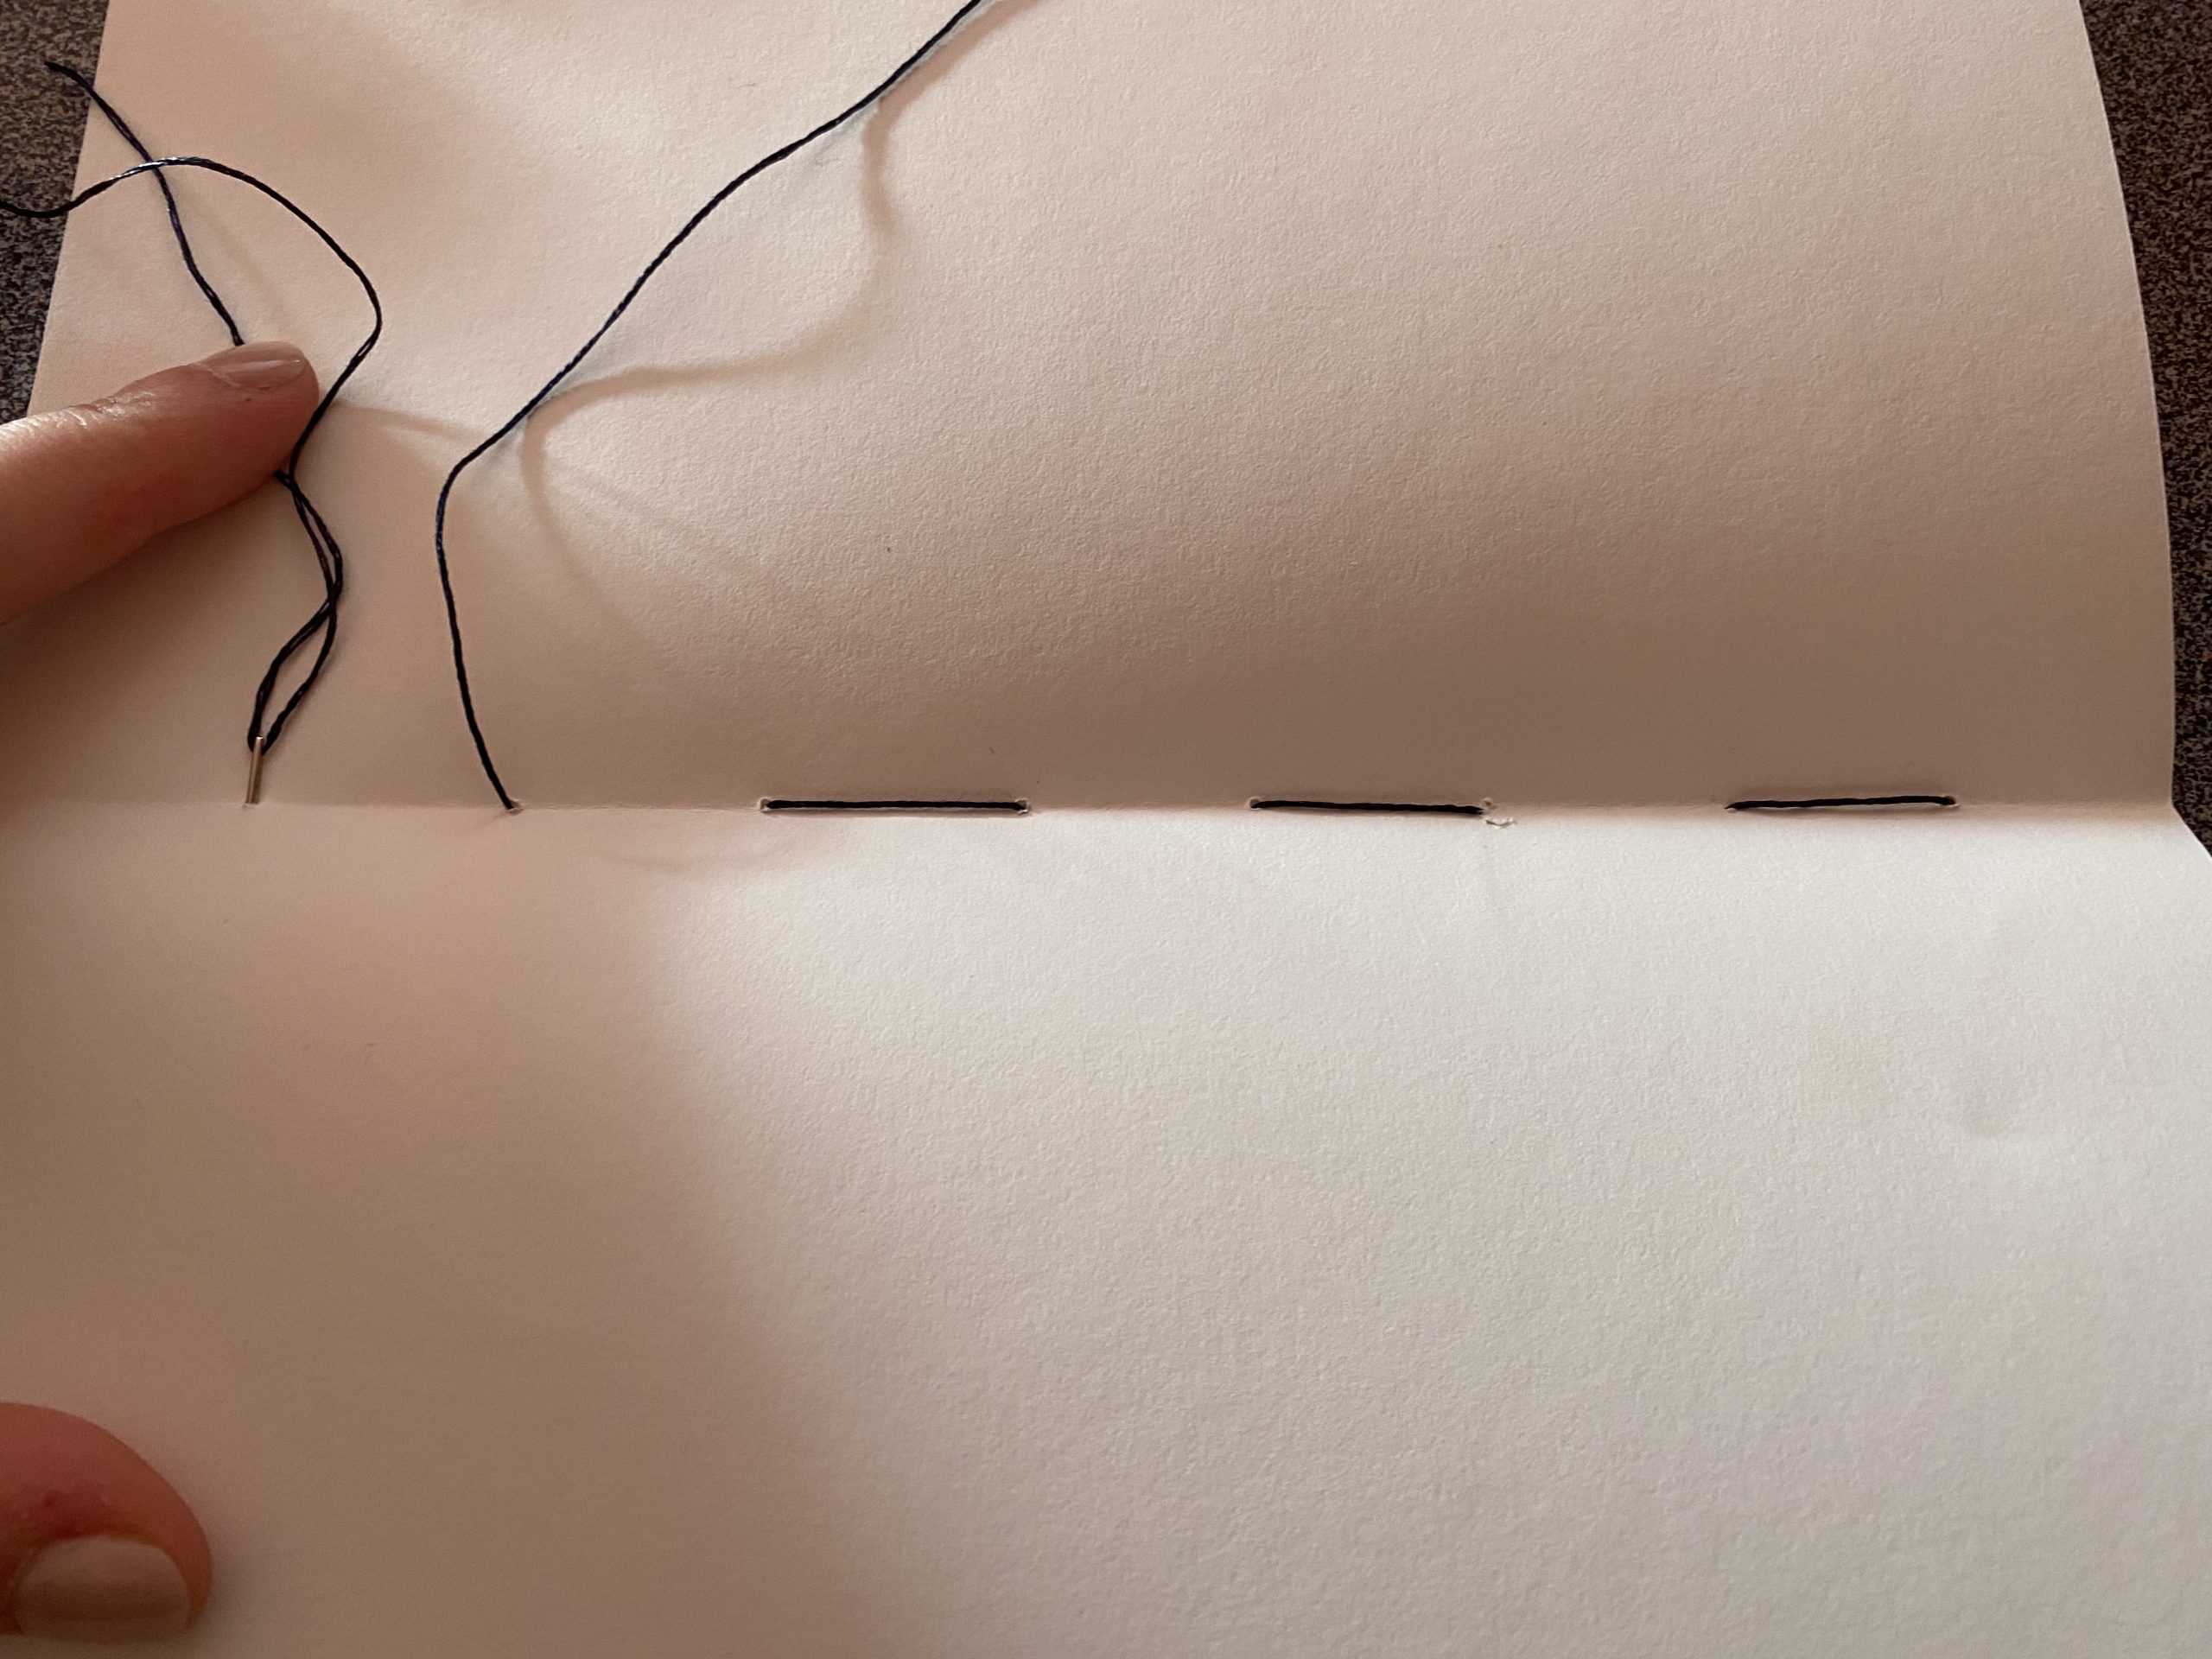
Once I reach the other end of the signature, I do the same thing, going the other way. At the end, it should look something like this. At the end, I tie a a knot with the thread that was already there and I can start adding another signature.
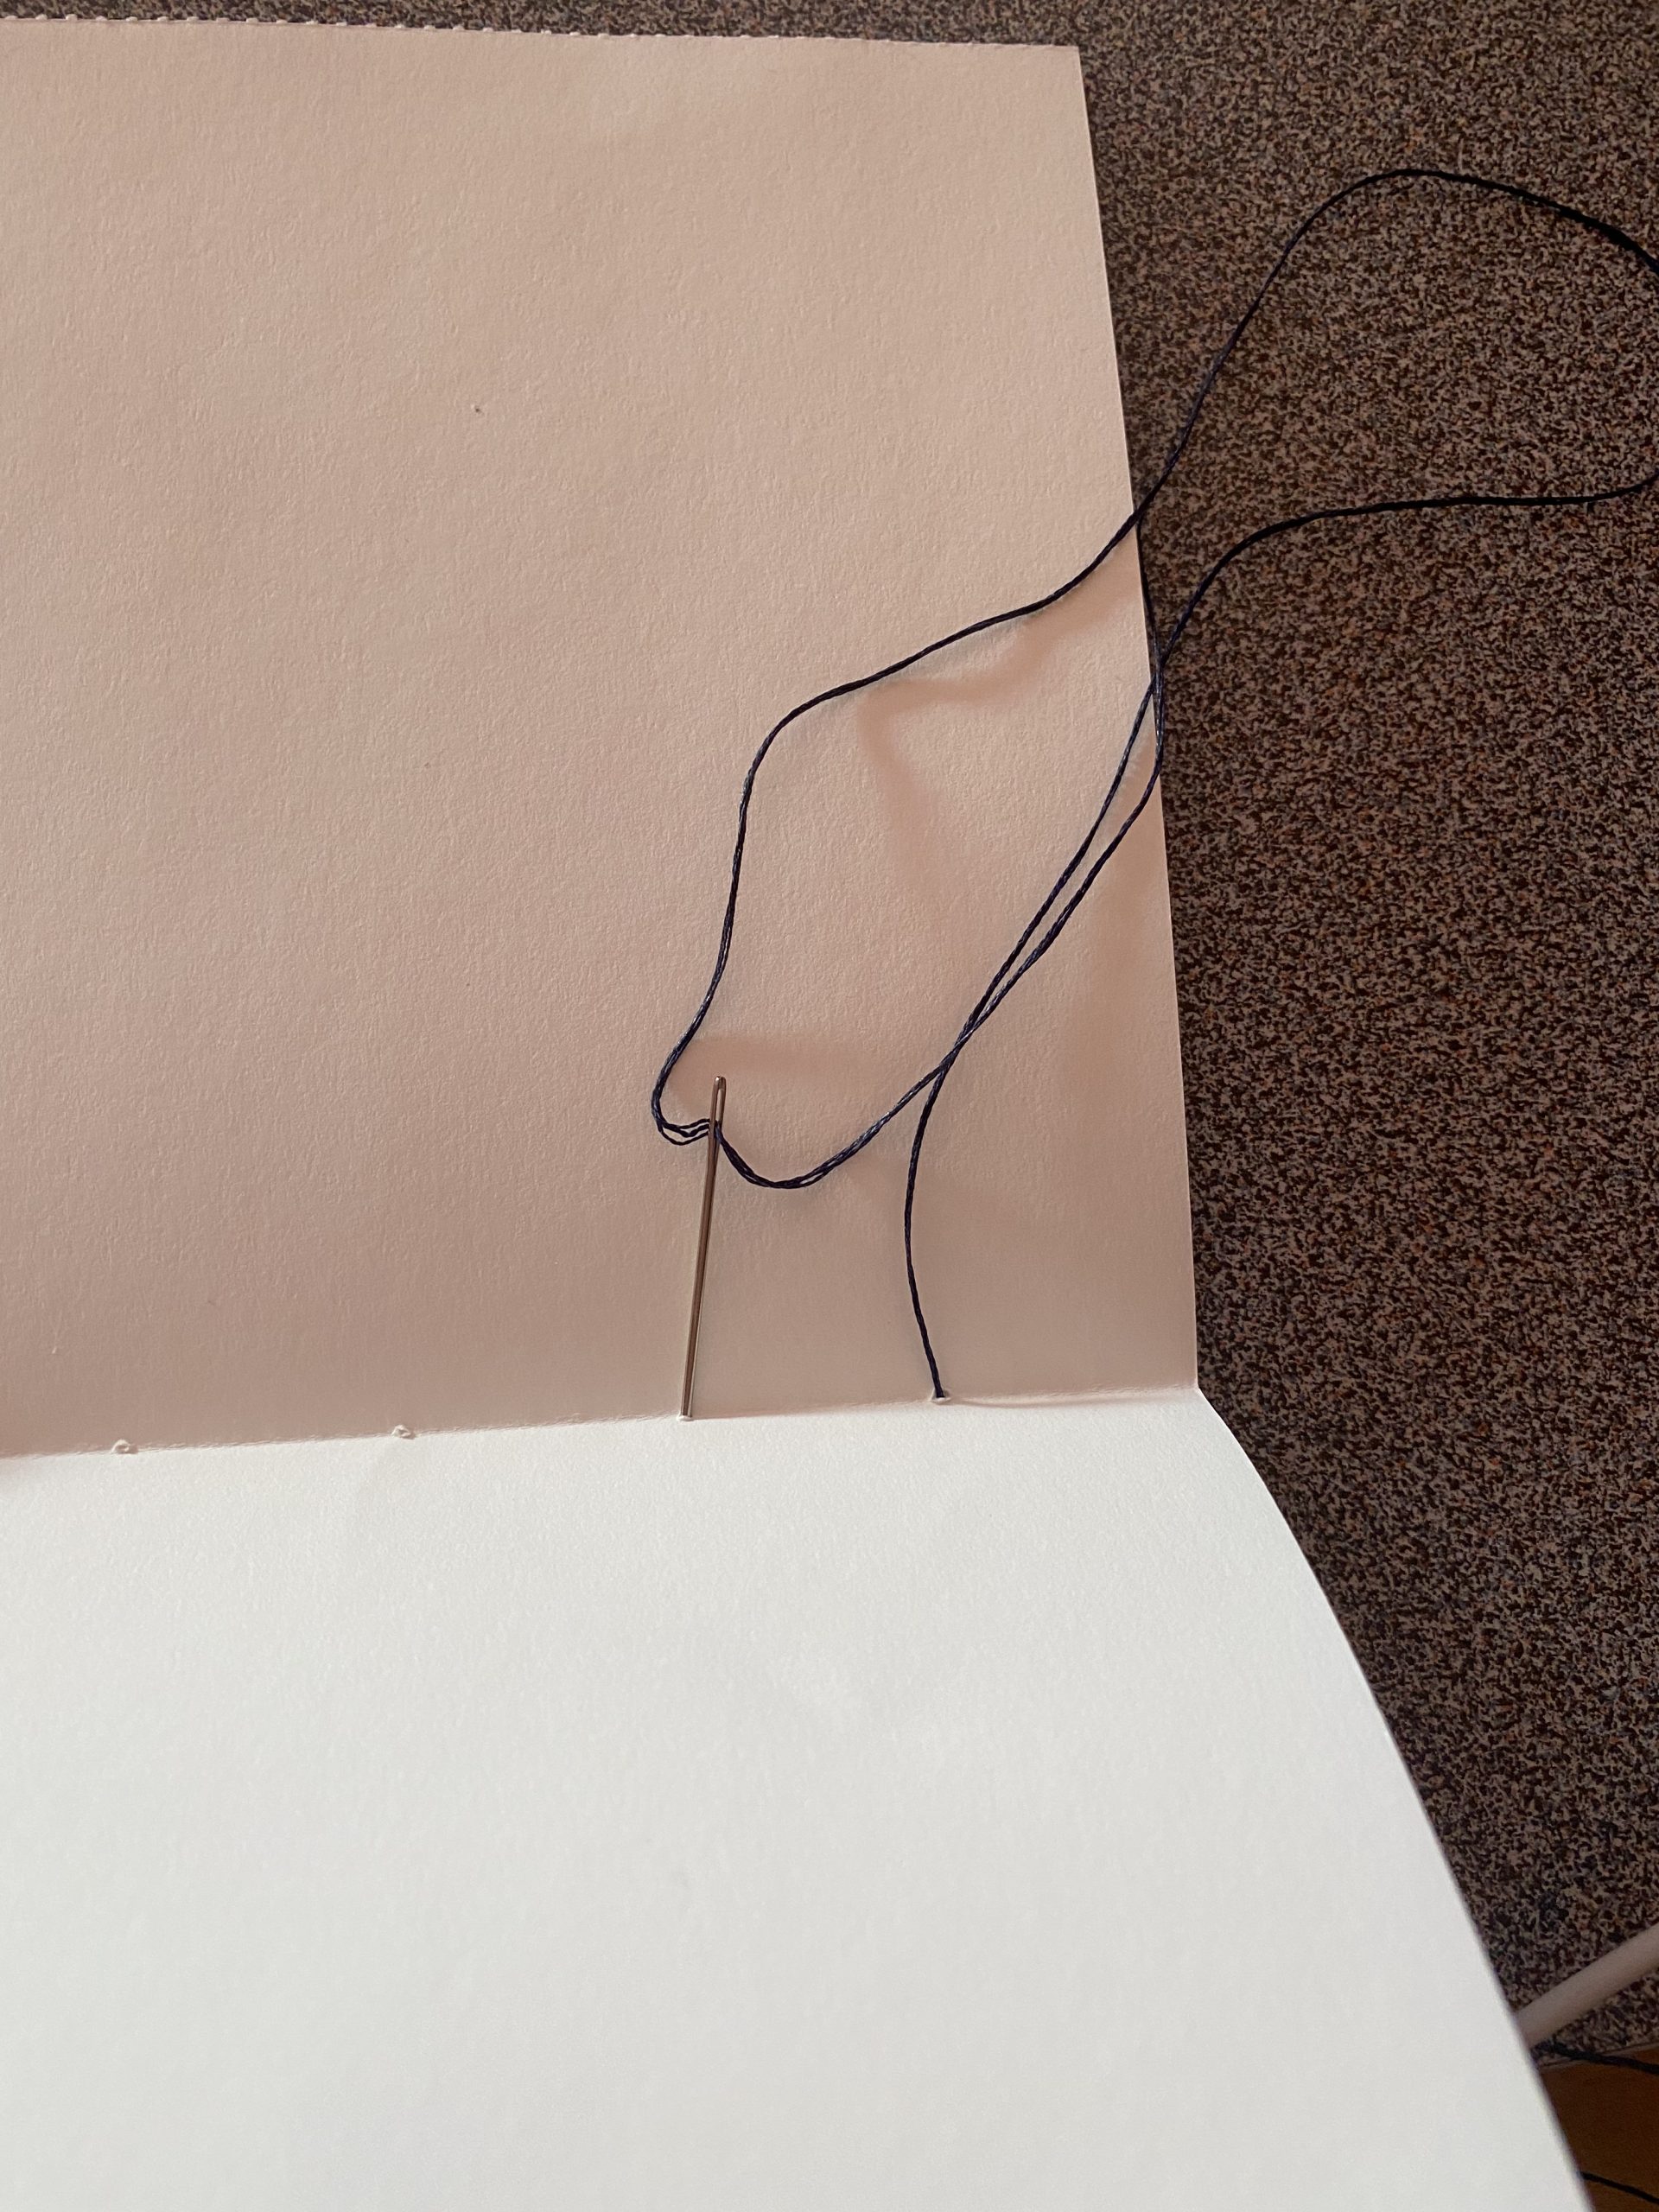
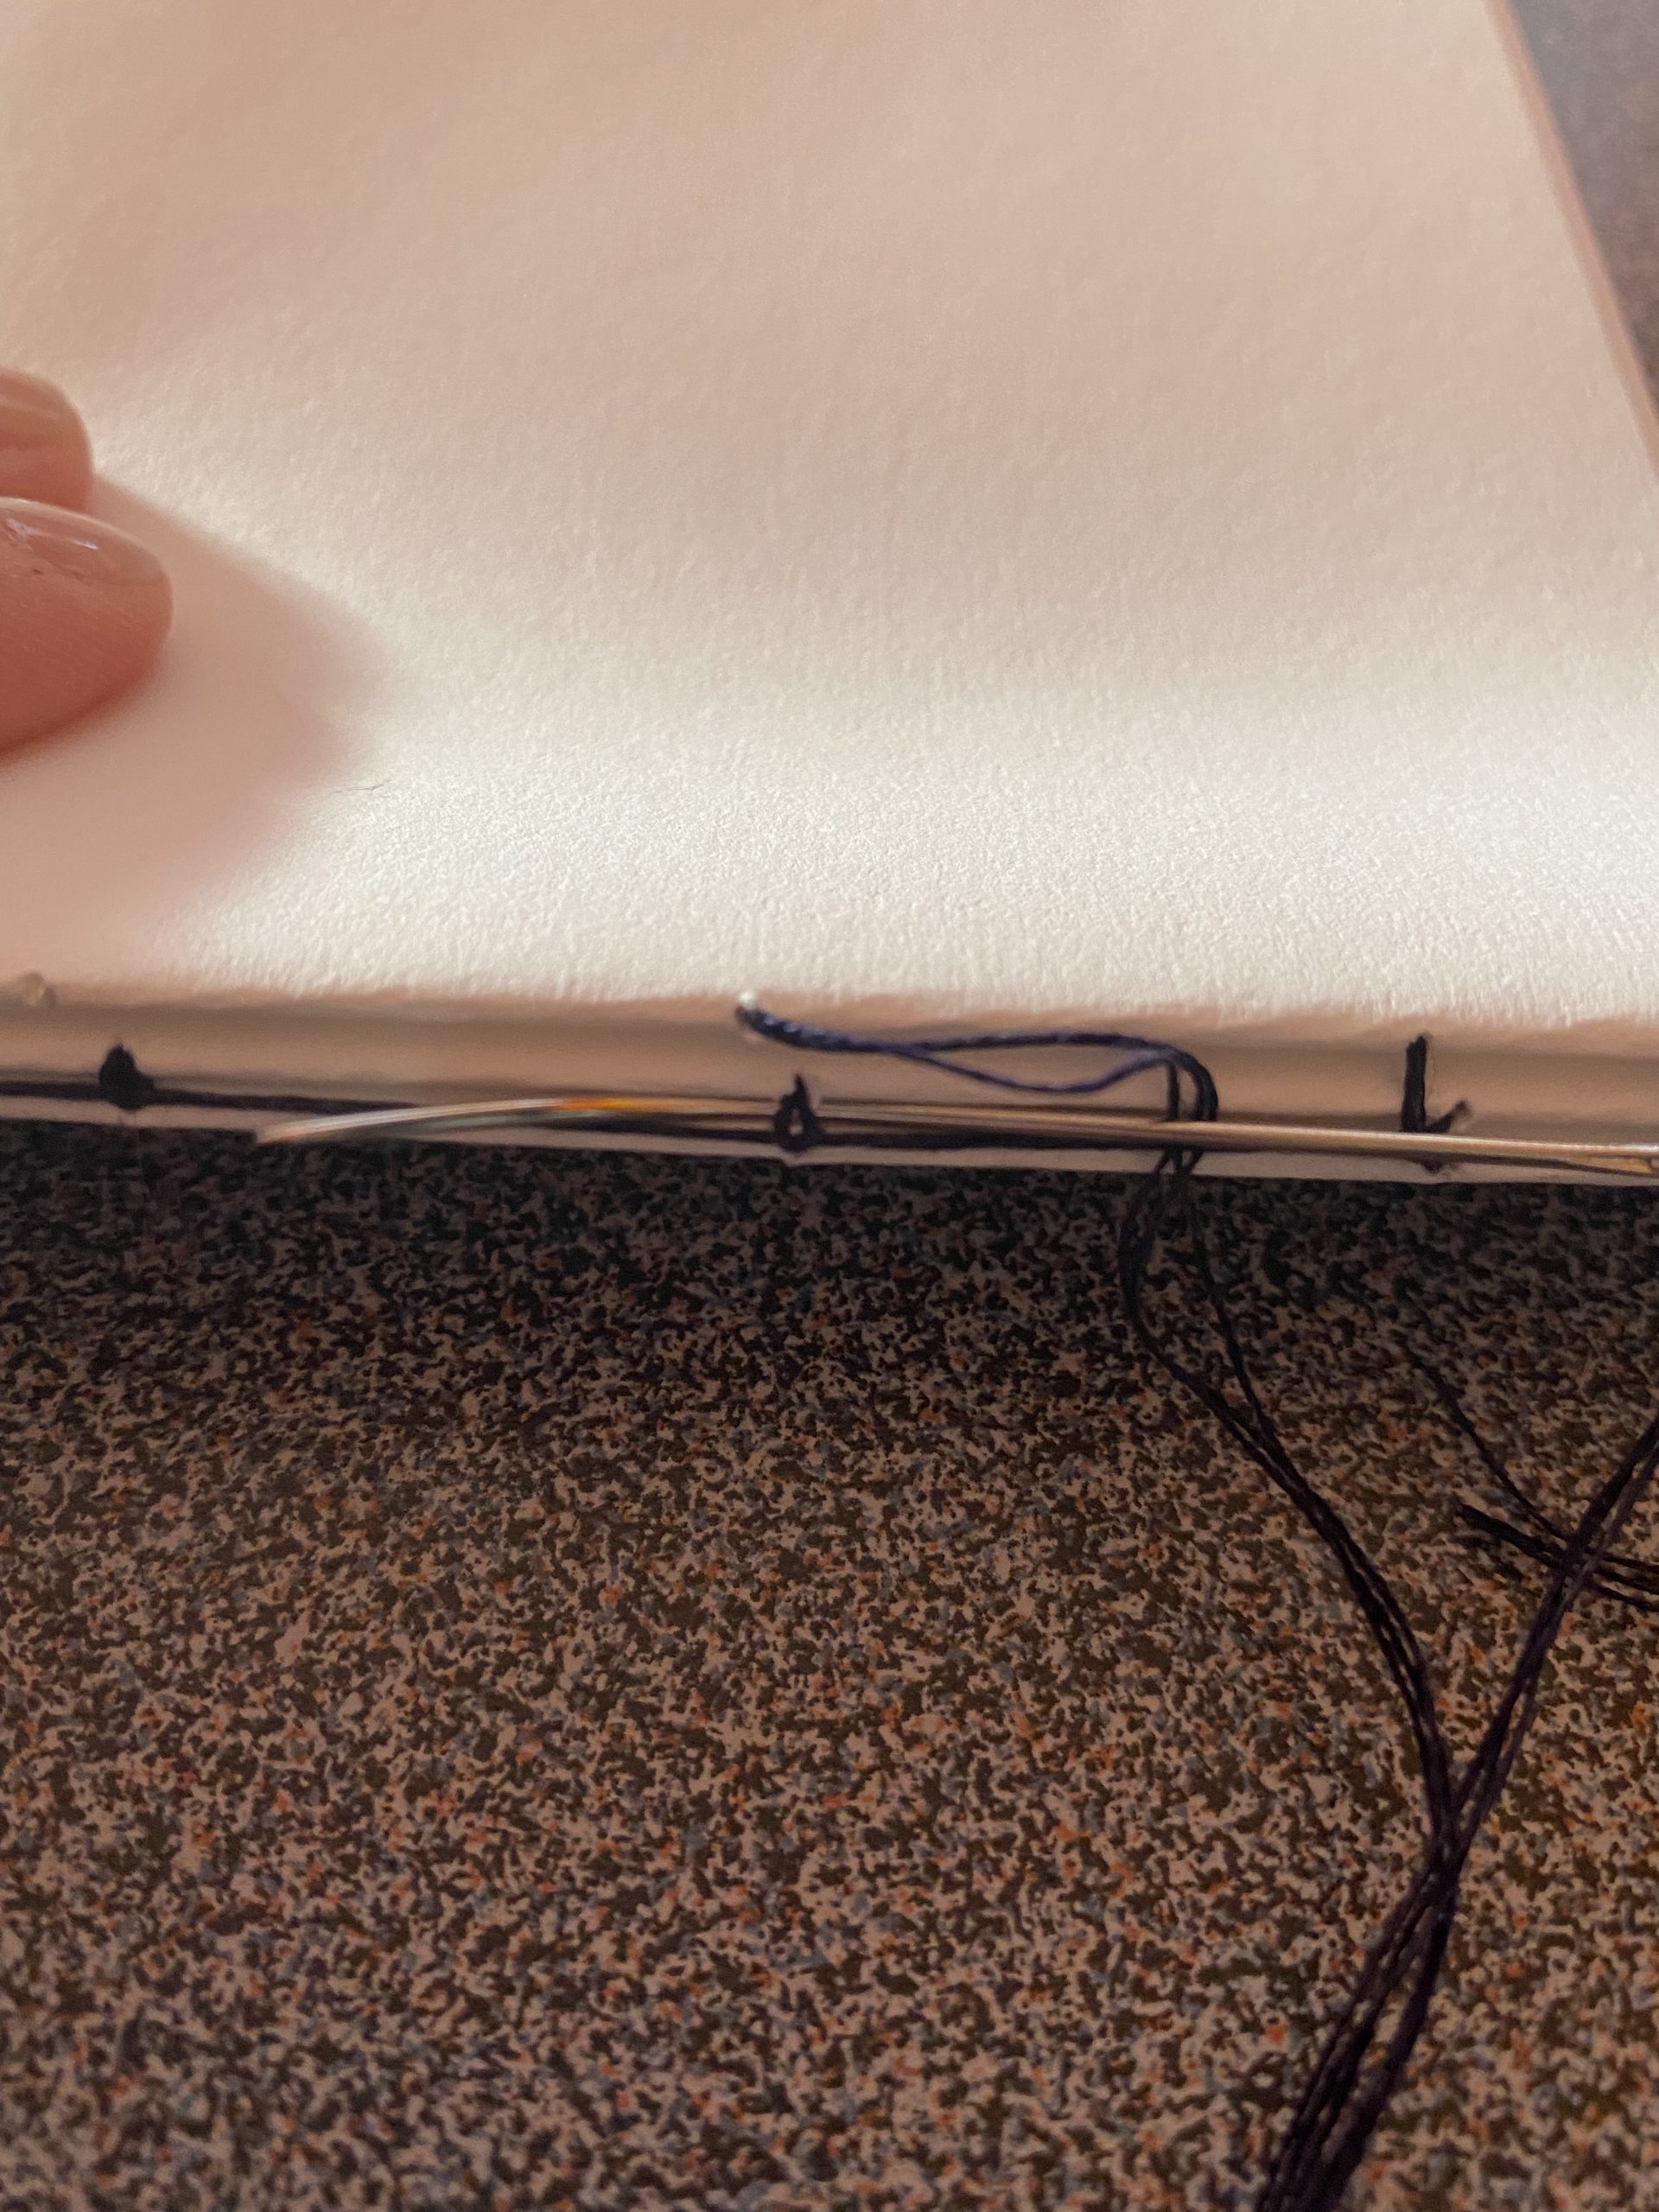
Making sure that the signature is on the right side, pass the needle through the first hole and out of the second. Once outside, I passed the needle between the thread of the first signature and the paper on both side and back in the hole. I repeated the same thing for each hole until I reached the last one of the signatureOnce I reached the last one, I pulled the needle on the outside and passed under the thread from the first signature, just like for the other stitch. However, I formed a loop and passed the needle through it, creating a kind of knot in the thread, securing that signature. After that, I added a third signature and doing the same thing. This time, I simply loop the needle behind the thread from the previous signature.
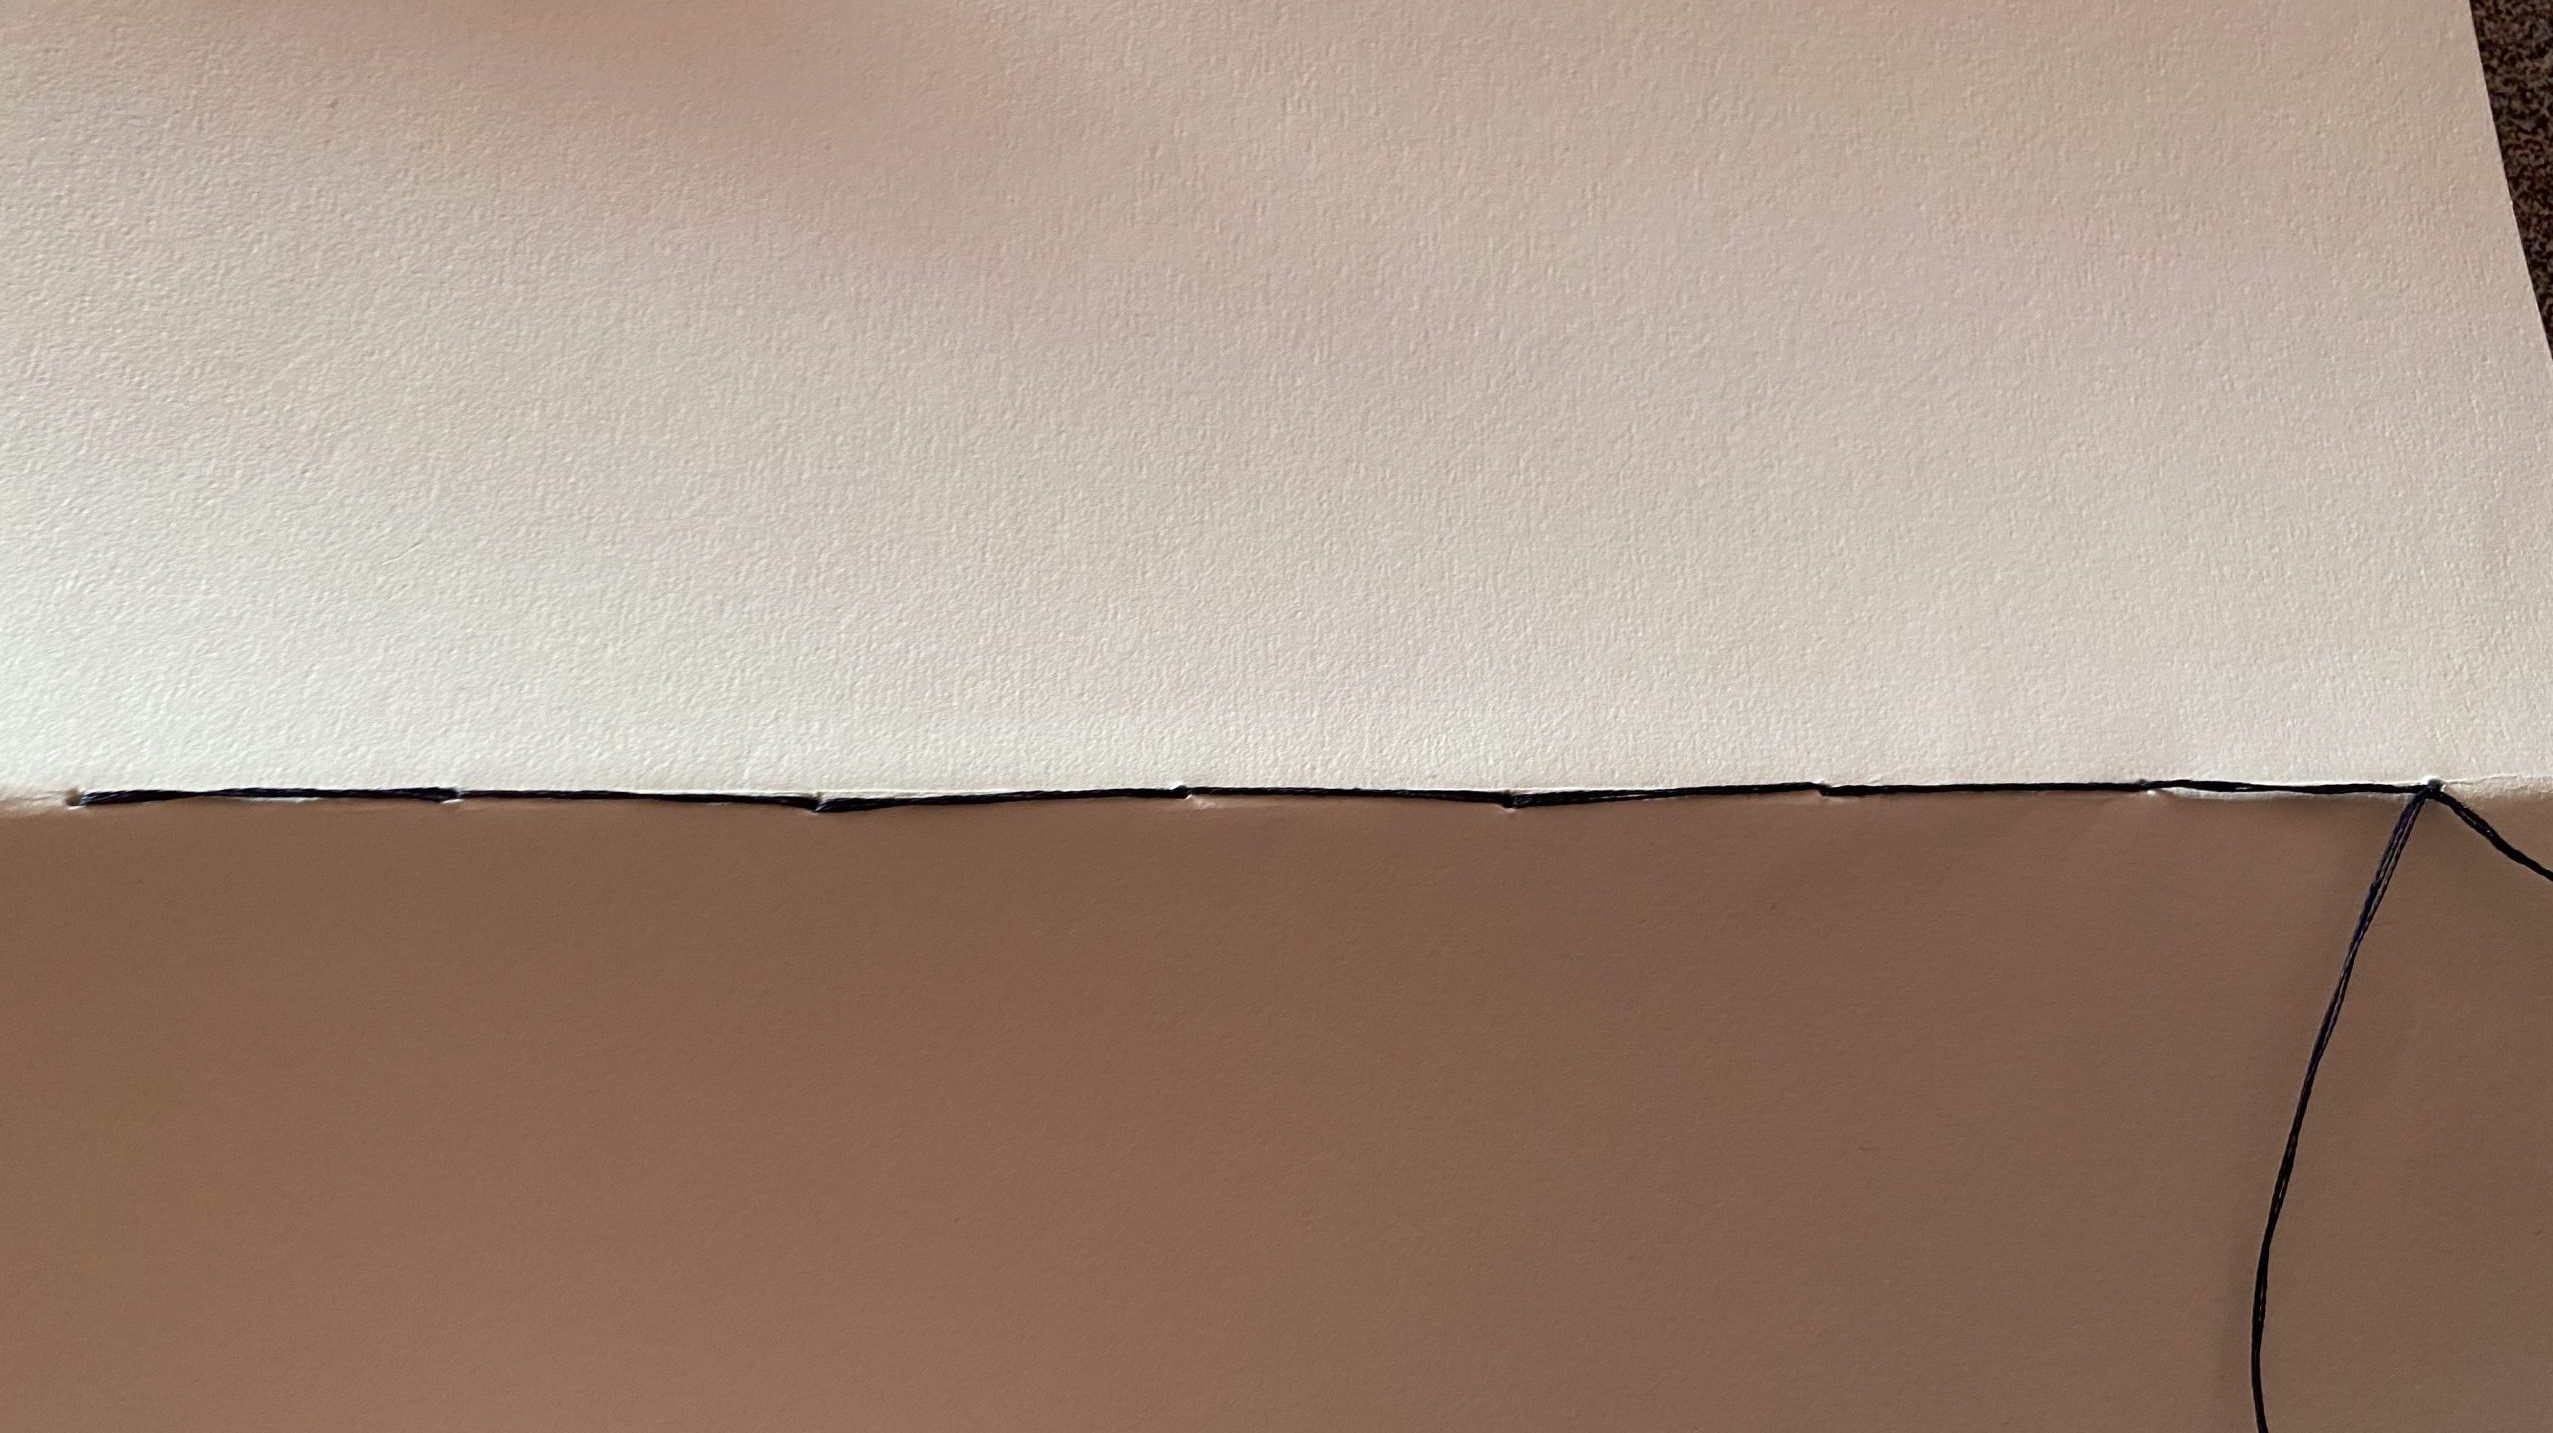
Afterwards, I simply repeated the same thing until all the signature are included in the text block. At the end, simply tie a knot when pulling out the needle from the last hole. It should look something like this.

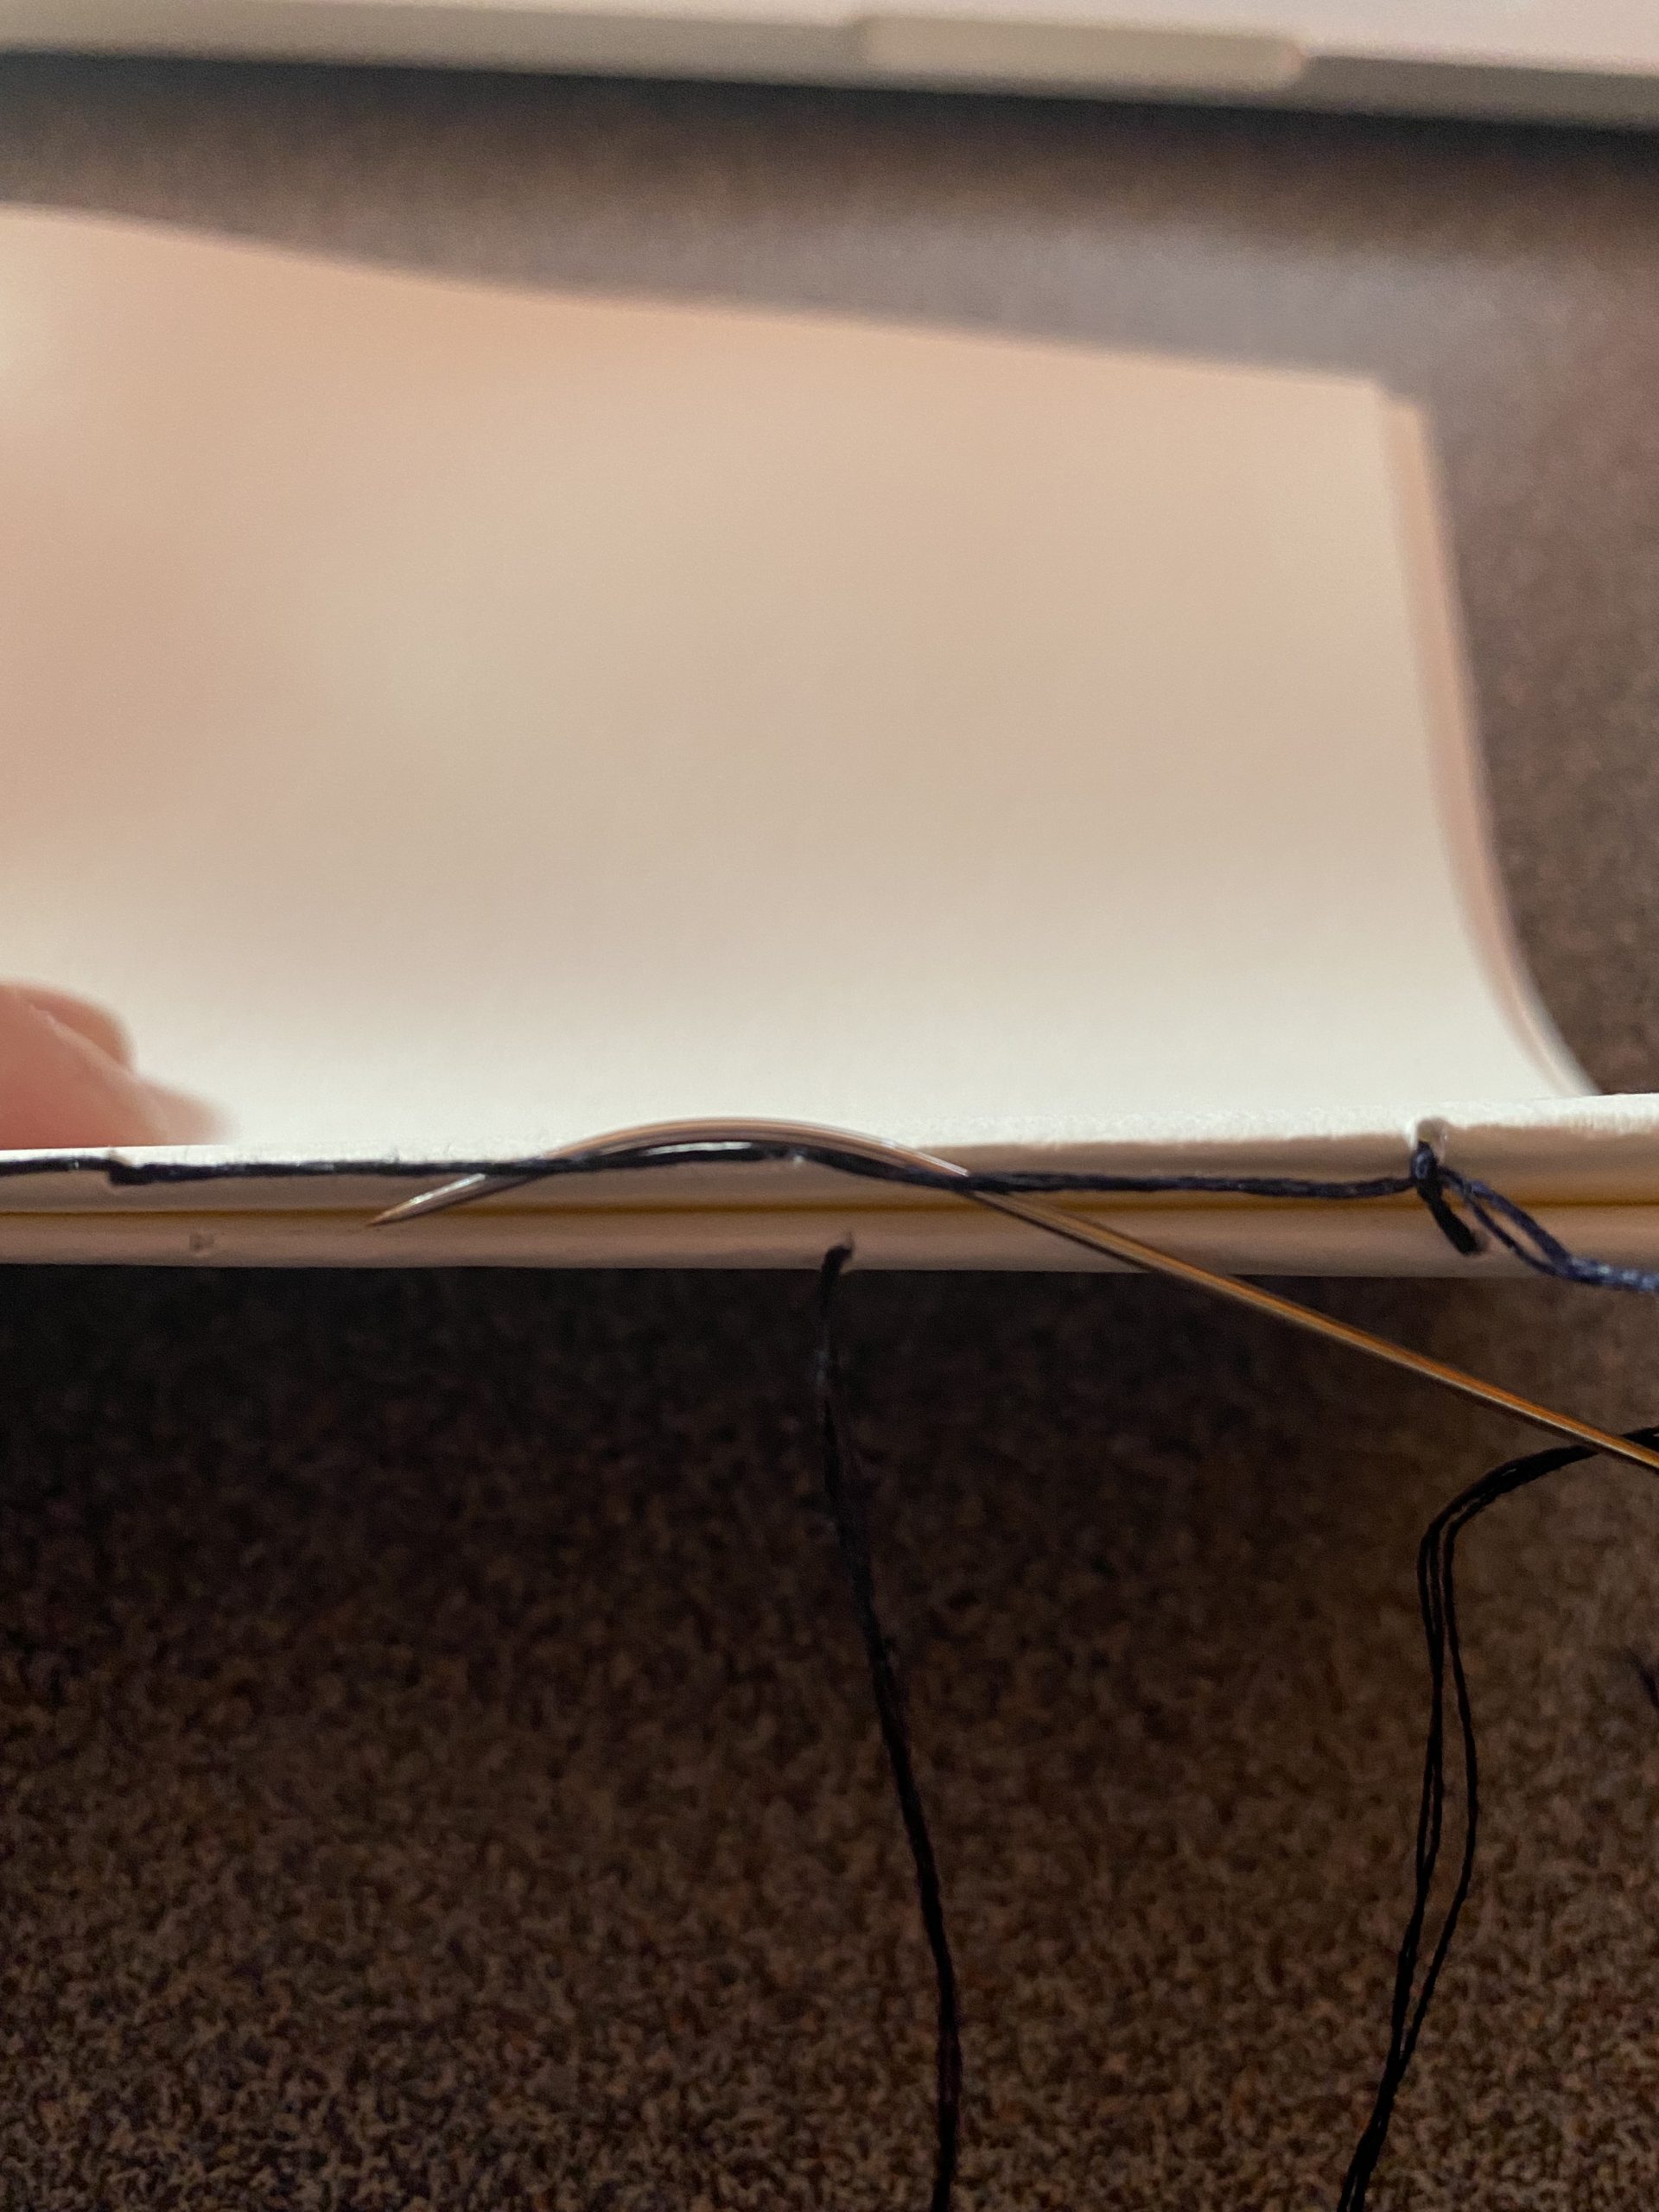
After all that work, the text block is in one piece and all the signature have been included. It’s important to make sure that all the signature are on the right side. Otherwise the pages will not be in the right order. That is not a good thing and you’ll need to undo everything and start again. I always double check that the pages are in the right order. If you have loose paper, make sure they are at the right place before starting.
Have fun in your conservation and bookbinding projects !
Hopefully this is be useful.
Here are two website that are explaining the kettle stitch. There are also quite a few videos on the internet about the different variation of the stitch.
Paul (2014). 06. Sewing/Stitching the book. Available at : https://www.ibookbinding.com/blog/sewing-the-book/[Accessed January 18th 2022]
Stopka, N. (2014). The kettle stitch. Available at : https://www.nataliestopka.com/goingson/1671 [Accessed January 18th 2022]
- March 2024 (1)
- December 2023 (1)
- November 2023 (2)
- March 2023 (2)
- January 2023 (6)
- November 2022 (1)
- October 2022 (1)
- June 2022 (6)
- January 2022 (8)
- March 2021 (2)
- January 2021 (3)
- June 2020 (1)
- May 2020 (1)
- April 2020 (1)
- March 2020 (4)
- February 2020 (3)
- January 2020 (5)
- November 2019 (1)
- October 2019 (1)
- June 2019 (1)
- April 2019 (2)
- March 2019 (1)
- January 2019 (1)
- August 2018 (2)
- July 2018 (5)
- June 2018 (2)
- May 2018 (3)
- March 2018 (1)
- February 2018 (3)
- January 2018 (1)
- December 2017 (1)
- October 2017 (4)
- September 2017 (1)
- August 2017 (2)
- July 2017 (1)
- June 2017 (3)
- May 2017 (1)
- March 2017 (2)
- February 2017 (1)
- January 2017 (5)
- December 2016 (2)
- November 2016 (2)
- June 2016 (1)
- March 2016 (1)
- December 2015 (1)
- July 2014 (1)
- February 2014 (1)
- January 2014 (4)