Basic Tear Repair on Paper
29 January 2023This post is about basic repair for tears in paper. Many tears in paper can easily be repaired by a simple process if you have the right equipment. This guide is for simple tears when you have no loss of material. It requires a few tools that most conservators or conservation studio should have on hand. If not, they can easily be found in conservation or archive suppliers.
To do this you will need minimal materials:
- A pair of tweezers
- A brush
- A water brush
- Adhesive
- Japanese tissue paper
- Nonstick material (Reemay/Bondina)
- A scalpel
- Weights or a book press
- Blotting paper
The pair of tweezers is to help you place the tissue paper at the right place. To do so, you might want to use a light box to make sure you are analyzing the situation properly and that you will cover the entire tear. Sometimes tears can be hard to see with normal lighting, so a light box is a practical tool to see more details. I would recommend closing the light box before applying the adhesive. The tissue paper being as thin as possible, it will be hard to see if it is well place and if the adhesive is appropriately applied onto the tissue paper. If you don’t have a light box, you can put a light source under the paper to look at it with a magnifier.
The brush is to apply the adhesive. You can choose whatever size you feel more comfortable with. I prefer a brush on the smaller side and spread out the adhesive in more motion. I find I have more control over the adhesive placement that way. I prefer one with softer bristles.
The water brush is to help tear the tissue paper. This type of tissue has specific fibres that you don’t want to cut with scissors. You want to keep the full length of the fibres to be able to have a strong bond between the paper and the tissue without the mending being visible. By using a water brush, it is possible to easily tear the tissue paper in the desired size without any difficulty. You can also substitute that for a small pointy brush and water. You will simply have to dip your brush to make sure the tissue is wet where you want to tear it.
The adhesive is up to you. The classics are wheat starch paste, Klucel G and methyl cellulose. Wheat starch is the most used in book binding and paper repair and has been used for a long time. For this project, that is what I will use. I can be done quite fast using a microwave. I make it with a ration of 1:10, 1g of wheat starch for 10 ml of water. It is good for about a week when kept in the refrigerator, therefore you should do only the amount you need to limit waste. Methyl cellulose is also quite fast to do, but less so than the paste. It can, however, be kept longer in the refrigerator. For this type of repair, you can use the one you have already prepared or the one you prefer.
The Japanese tissue paper is the crucial element of the mending. You need to choose the right density of fibres for the mending to work, but also keep in mind paper itself. More often than not, tears are not strategically placed on the paper. They can be where there are some writings. In that case, you don’t want to hide the words or details. Therefore, you should try to find the thinnest tissue paper that will do the job. Usually when there is something underneath, conservators tend to go for 3 gsm. It is light but strong and will keep the tear from getting bigger but won’t hide the details underneath. It works for most tears. Six gram per square metre is a good option if something stronger is required. However, it is thicker and will hide the details of what is underneath a bit. It is best used in places where there is only paper, and no ink, like on the edges or in the centre crease of the folded pages of a book.

Before starting to repair paper, you should always clean the paper first. Mending comes after the cleaning of the surface or object you want to work on. You want to have a clean surface to work with; otherwise the grime will get stuck in the adhesive and the entire mending will need to be removed to remove the grime.
It is important to do this on a surface that glue won’t stick to. The usual ones are Reemay and Bondina. The glue won’t stick to the surface; therefore, you won’t tear the paper further when the process is over and it is time to remove the paper from between the nonstick material. You can put a piece of those on top of your work surface. It needs to be bigger than the paper you are working on. You will need two of those for each paper. You will also need two blotting paper for each piece of paper you are working on. The Bondina/Reemay and the blotting paper can be reused for other projects.
Once you have determined the placement of the tear, the appropriate Japanese tissue, the adhesive you want to use, you can place your Reemay/Bondina on the table and start working.
- Measure the Japanese tissue paper. For a simple tear, you want to have a perimeter of 3 mm around it to help strengthen the area. If the tear is on the edge, like in my pictures, you can measure your tissue and double it since we are going to fold it on the other side. Once the measures are taken, you can place it on another surface and use the water brush to wet around the piece you’ll need. Once that is done, you can simply tear the piece out. That way you keep the long fibres of the tissue intact.
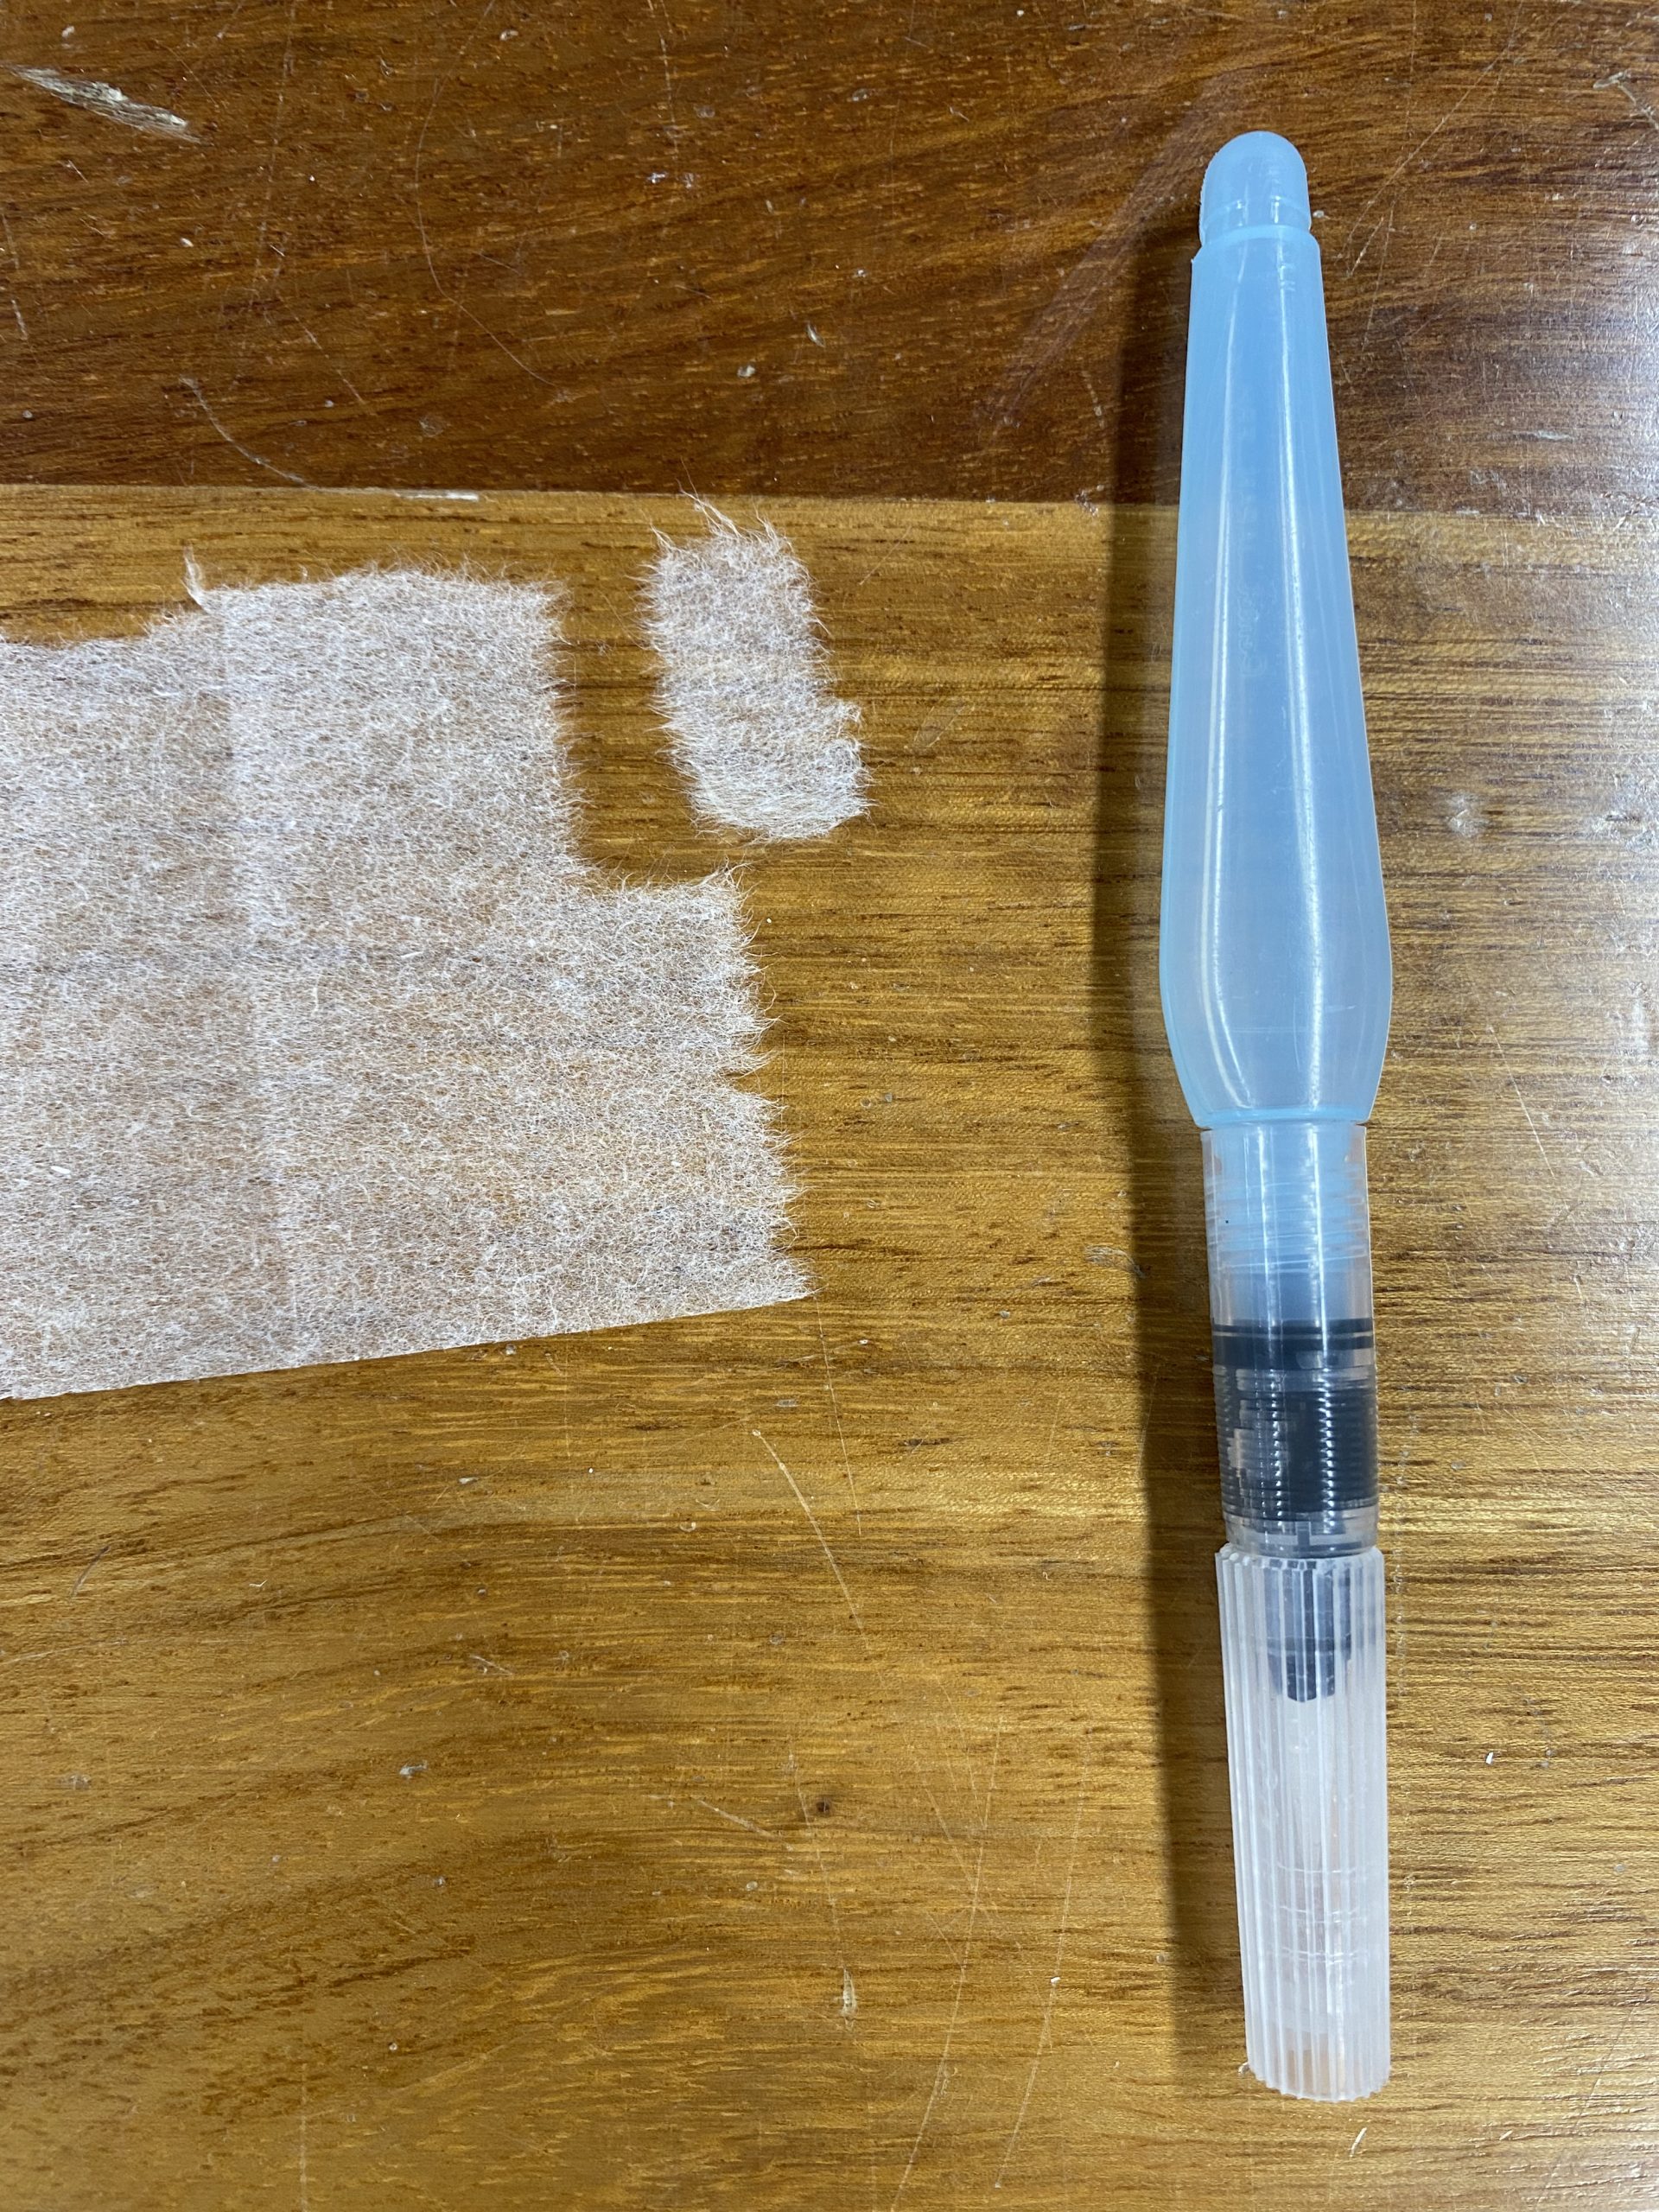
An example of a piece of tissu paper 6gsm torn away using the water brush 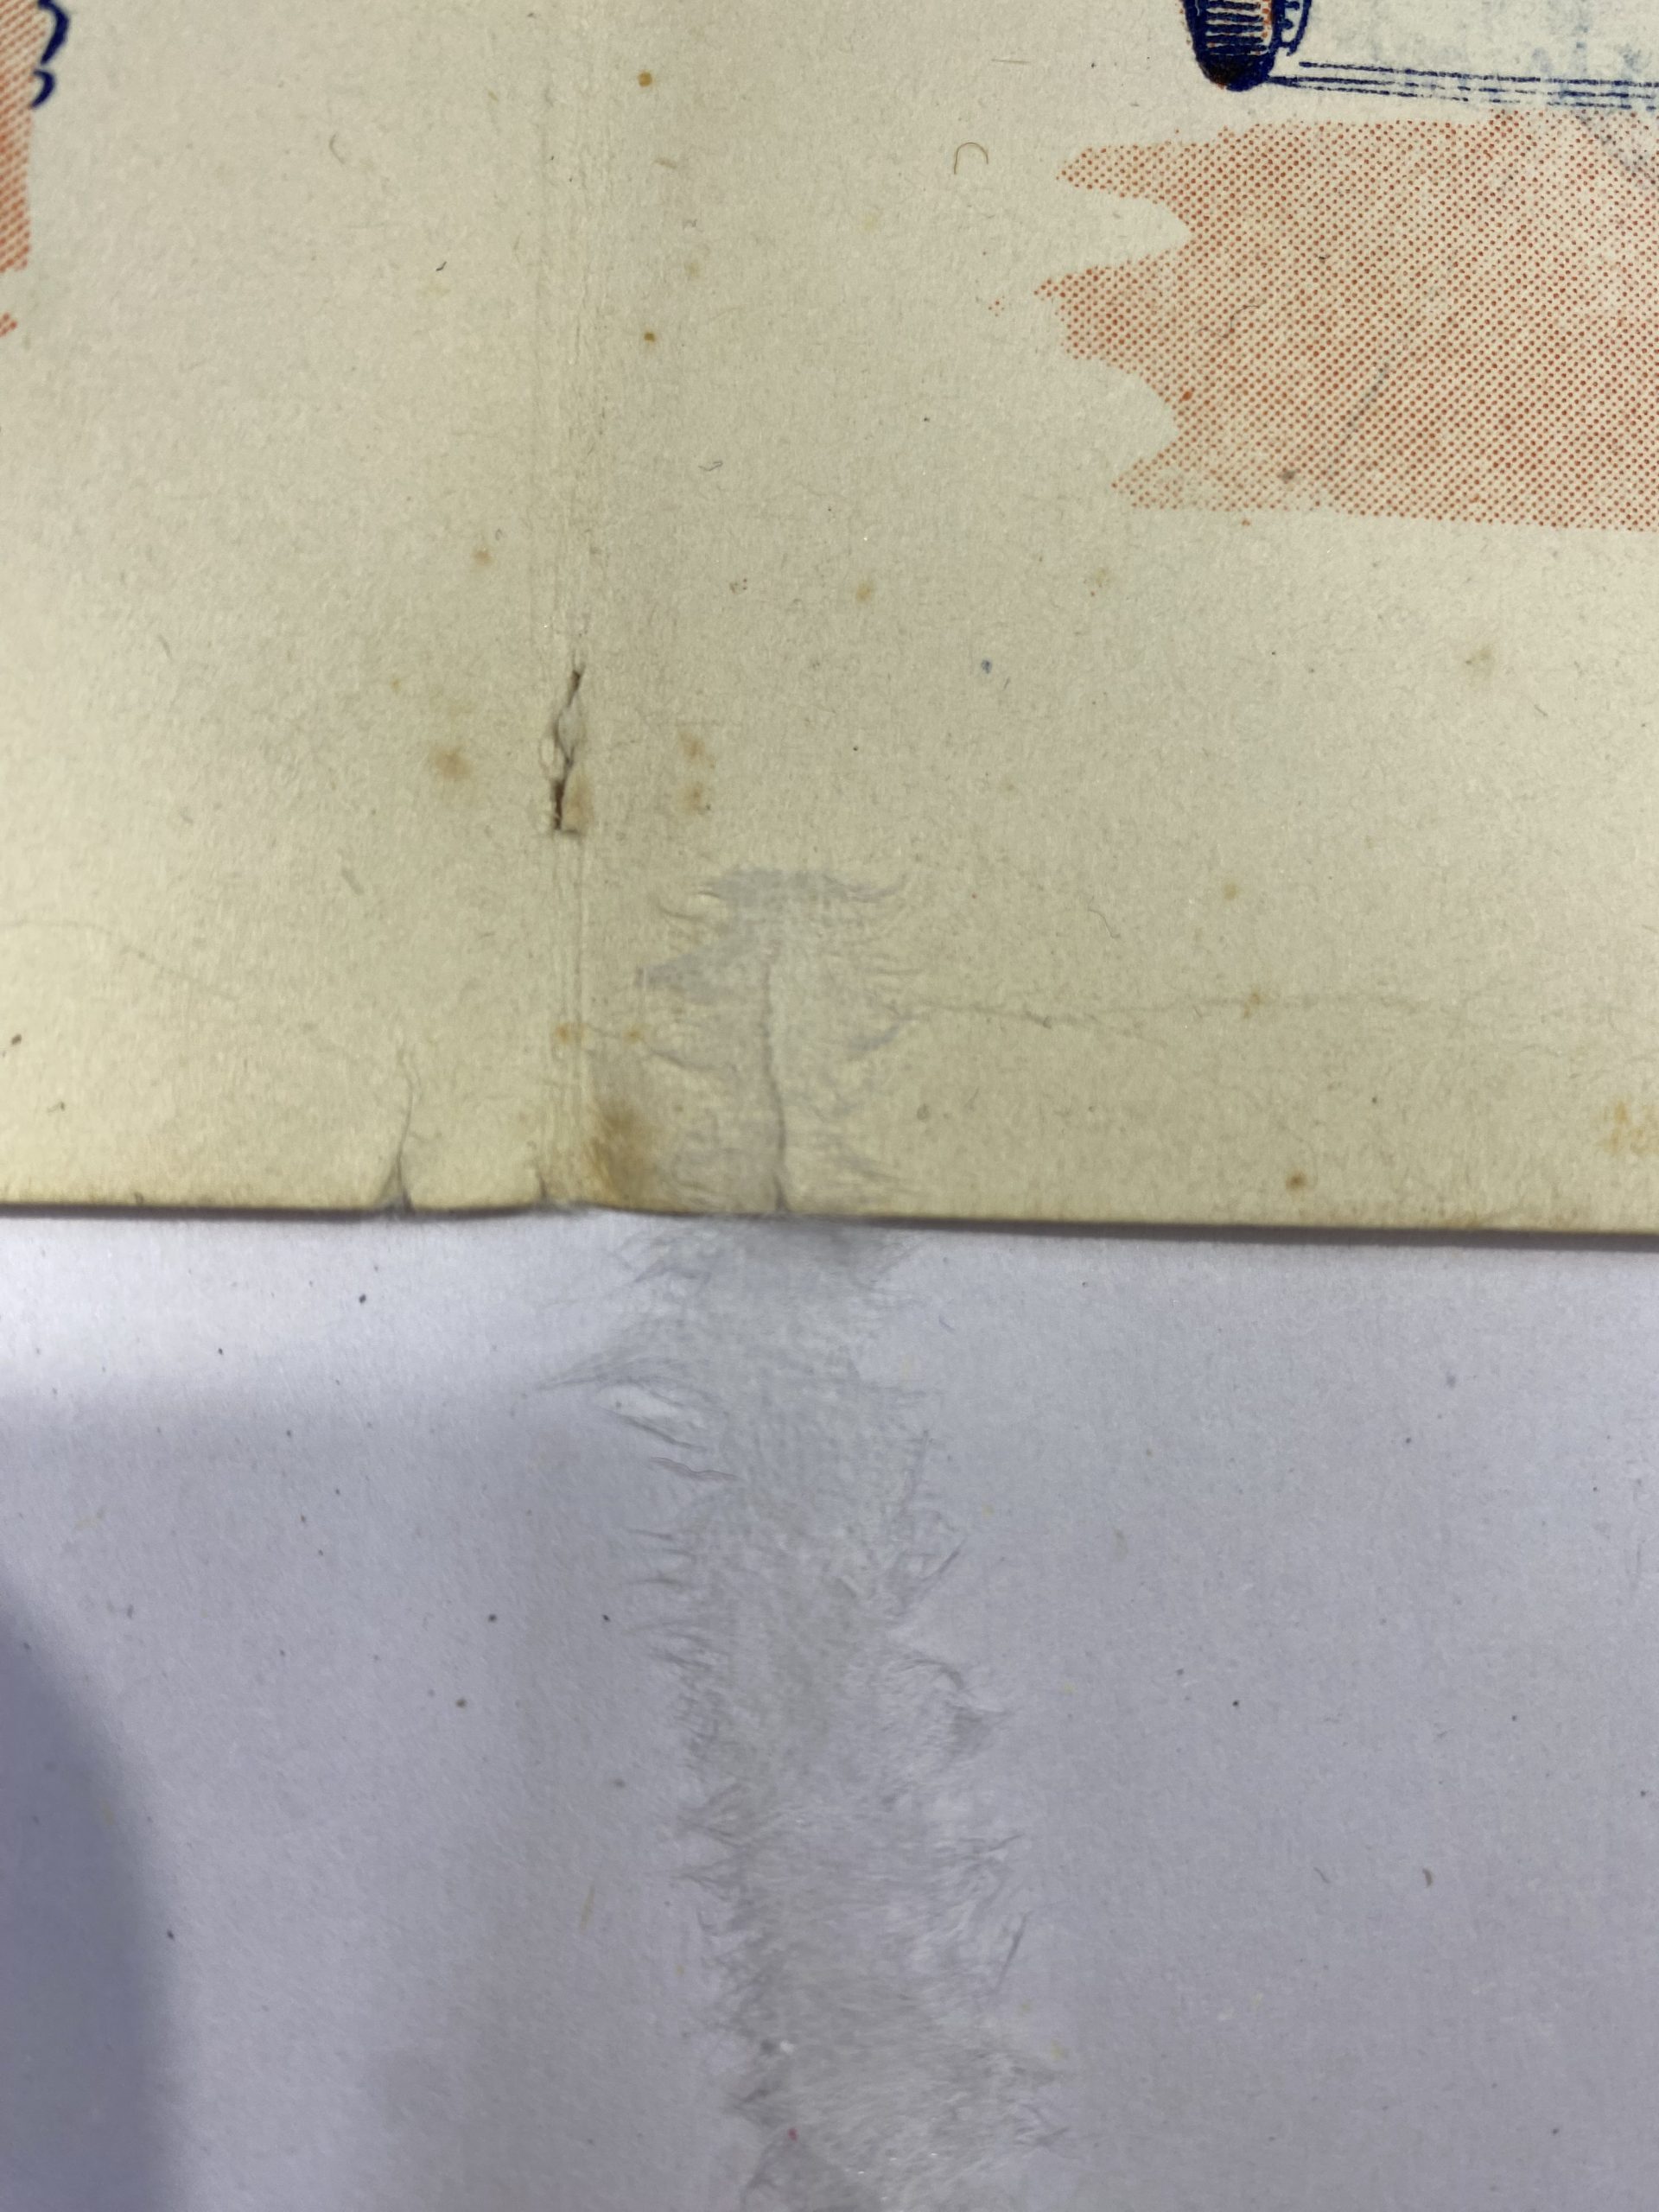
Piece of tissue paper on the tear before the adhesive. 6gsm was used since the paper is quite thick and to allow the tissue to be visible in the pictures - If your tissue paper is quite thin, like a 3 gsm, you can put the tissue where the tear is and apply the adhesive on top of it. You want to start inside and go outwards when applying the adhesive to get a smoother result. The tissue paper is thin enough that the glue will penetrate fast through it and will allow a good bond between the tissue and the paper. If you are using a higher gsm, you can apply the glue on the paper on another surface, like a marble piece or a plastic, pick it up with tweezers and place it on the paper. You should apply pressure on it to make sure the tissue is touching properly the surface of the paper.
- If you the tear is on the edge, you can fold your tissue paper on the other side and to step 2 again. Otherwise, you can take another piece of the proper size on onto the other side of the paper and do step 2 again.
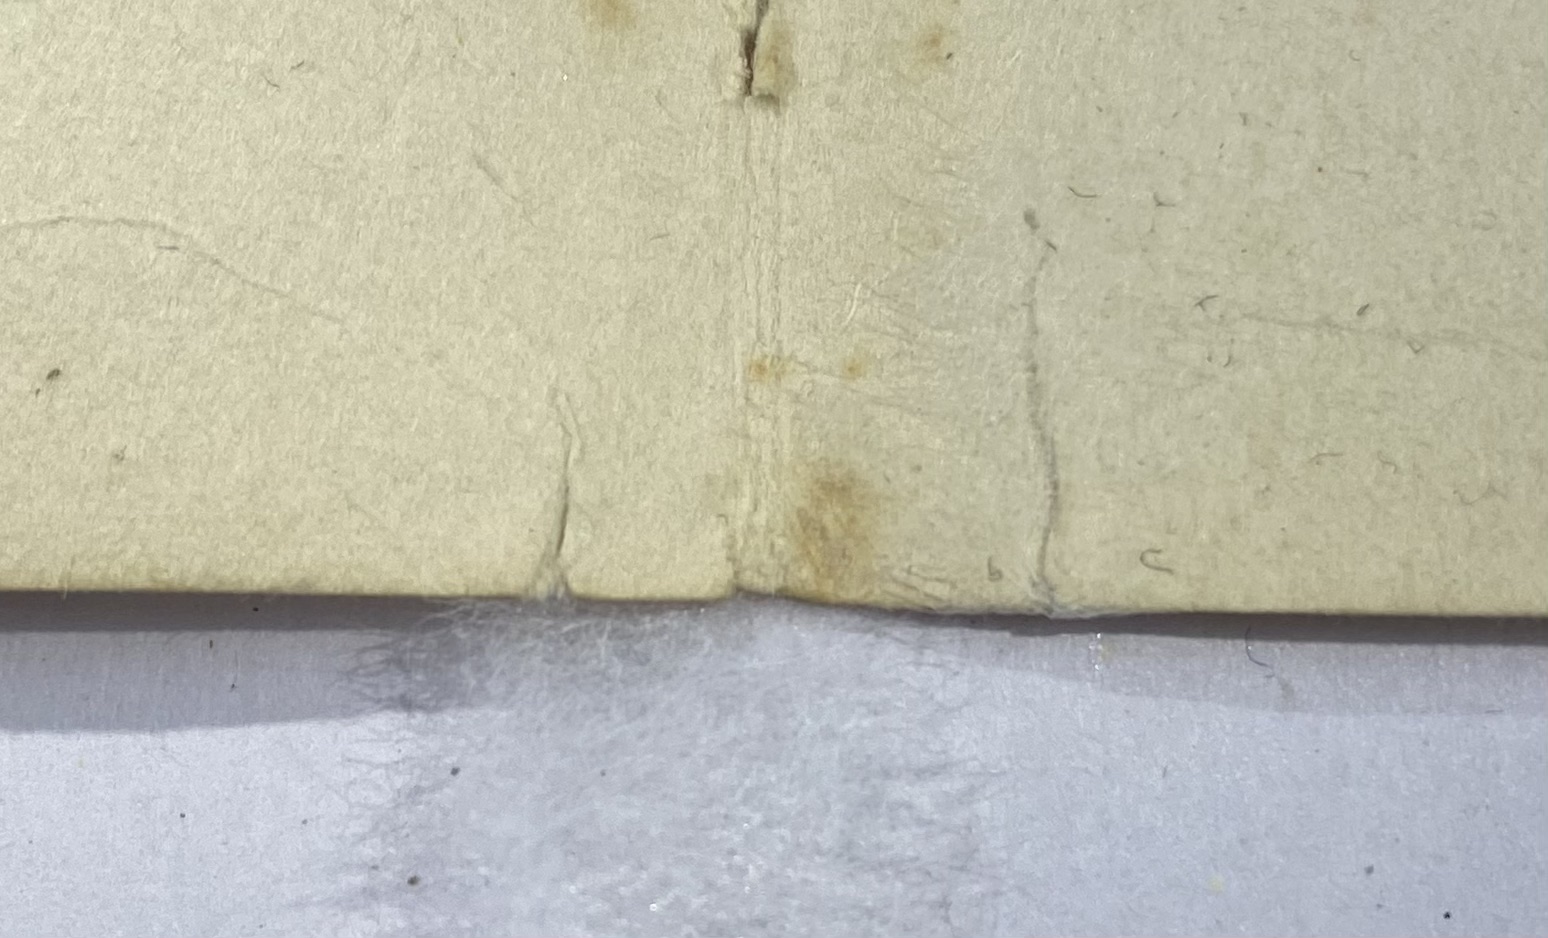
This tissue paper covers two tears that are near each other. It will be folded and the adhesive will be applied on top. The longer tear has already been repaired - Once the tissue is properly applied, sandwich your paper between pieces of Bondina or Reemay. Add another layer to the sandwich by putting blotting paper on each side. Once your 5-layer sandwich is created, out it in a press or under weights. This will allow the paper to dry flat. Leave it overnight.
- Once the drying process is done, you can cut with a scalpel the excess Japanese tissue that is going over the edges of your paper. And voila! You have repaired a tear in your paper.
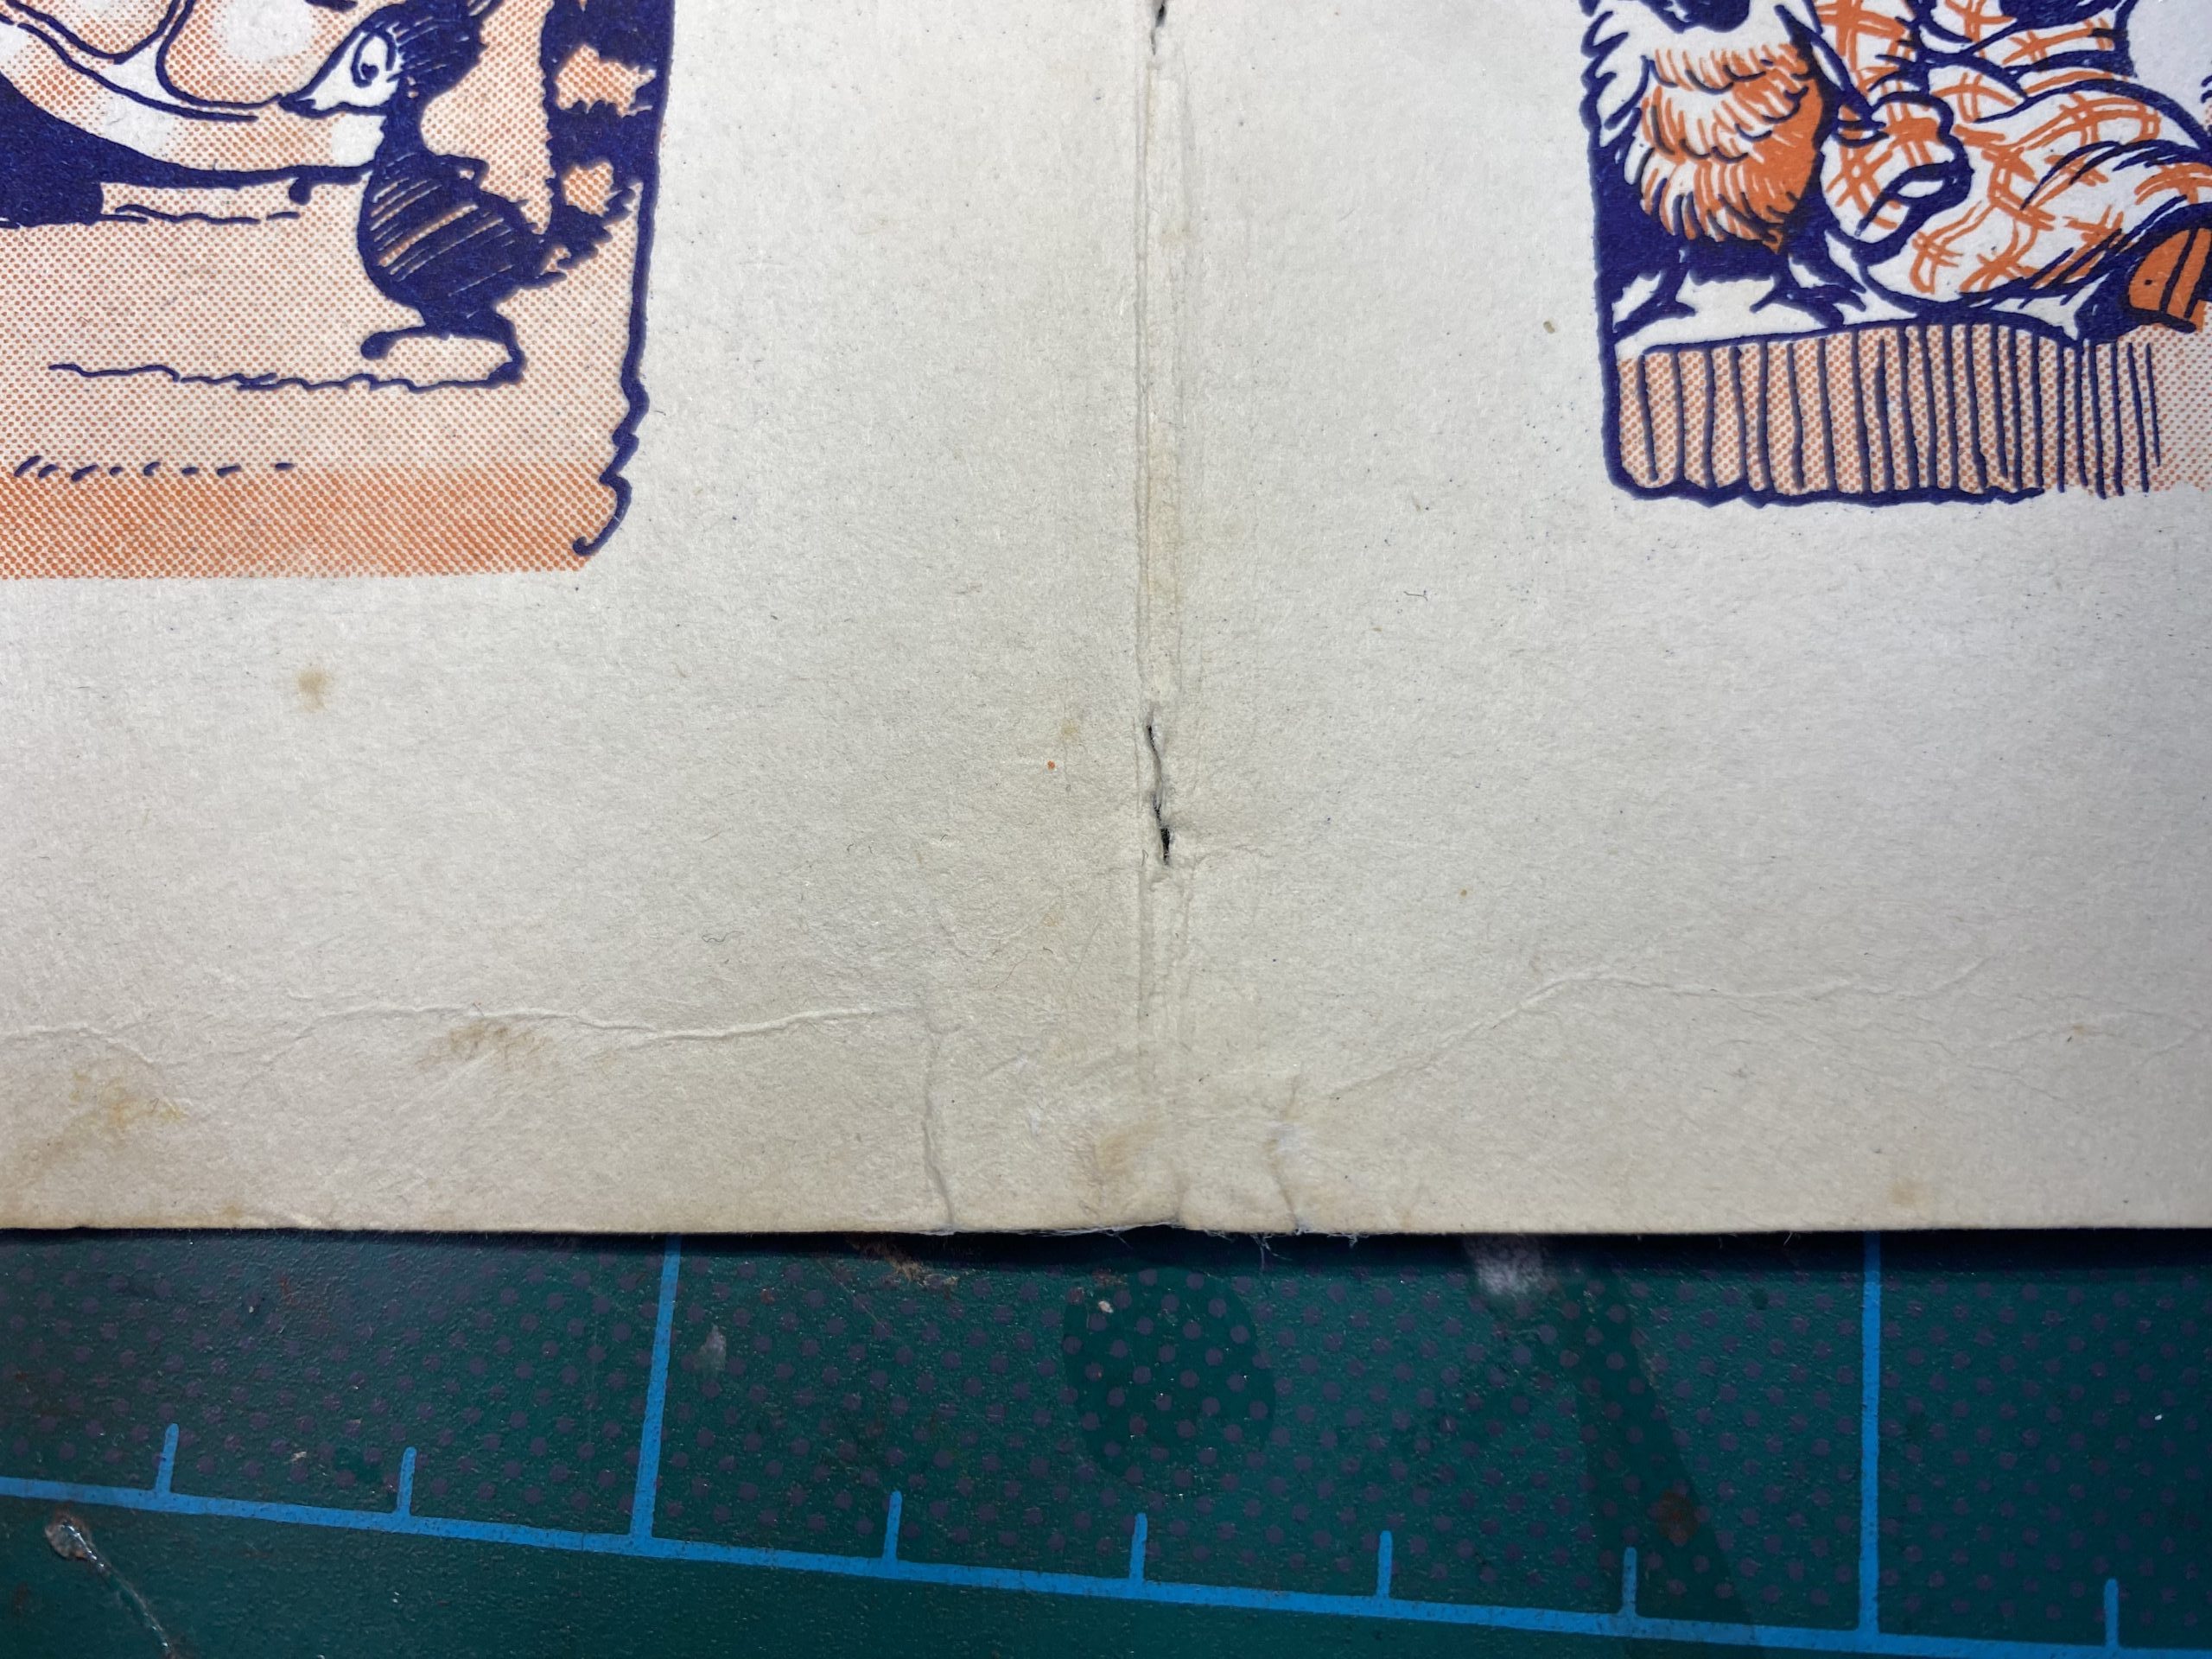
Three tears that were repaired using two strips of Japanese tissue paper
If you have multiple tears, you can address them all at the same time and do steps 4 and 5 once all the tears have been covered with tissue paper.
Sources to look at for more information:
NEDCC (2019), Surface Cleaning of Paper, https://www.nedcc.org/free-resources/preservation-leaflets/7.-conservation-procedures/7.2-surface-cleaning-of-paper Consulted on the 29th January 2023
This guide gives you more information on cleaning.
Wagner, Katie (2013), The Fix- The Art of Simple Paper Repair, Available at: https://blog.library.si.edu/blog/2013/03/13/the-fix-the-art-of-simple-paper-repair/#.Y9Licy2FA1I Consulted on the 29th January 2023
This article gives you an example of paper repair and a quick how to.
Morrow, C. and Dyal, C.(1986). Conservation Treatment Procedures. Library Unlimited Inc, Colorado.2nd edition,
The book is a bit old, however the chapter on mending using Japanese paper is quite well illustrated. Conservators now use tissue paper instead of thick paper like in the book, but the steps are the same.
Johnson, Arthur W. (1981), The Tames and Hudson Manual of bookbinding. London: Thames and Hudson.
This book is a good reference for bookbinding. It has a small section on tear repairs. Some images show different type of repairs possible on tears and infills.
- March 2024 (1)
- December 2023 (1)
- November 2023 (2)
- March 2023 (2)
- January 2023 (6)
- November 2022 (1)
- October 2022 (1)
- June 2022 (6)
- January 2022 (8)
- March 2021 (2)
- January 2021 (3)
- June 2020 (1)
- May 2020 (1)
- April 2020 (1)
- March 2020 (4)
- February 2020 (3)
- January 2020 (5)
- November 2019 (1)
- October 2019 (1)
- June 2019 (1)
- April 2019 (2)
- March 2019 (1)
- January 2019 (1)
- August 2018 (2)
- July 2018 (5)
- June 2018 (2)
- May 2018 (3)
- March 2018 (1)
- February 2018 (3)
- January 2018 (1)
- December 2017 (1)
- October 2017 (4)
- September 2017 (1)
- August 2017 (2)
- July 2017 (1)
- June 2017 (3)
- May 2017 (1)
- March 2017 (2)
- February 2017 (1)
- January 2017 (5)
- December 2016 (2)
- November 2016 (2)
- June 2016 (1)
- March 2016 (1)
- December 2015 (1)
- July 2014 (1)
- February 2014 (1)
- January 2014 (4)