Ready For Our Close Up!
1 December 2016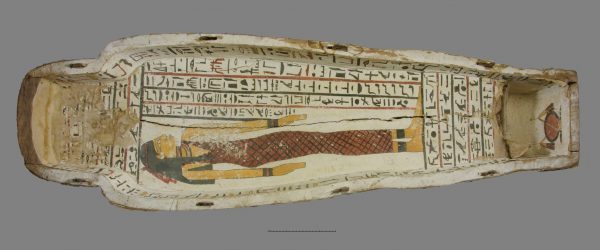
Documentation is an important part of a conservator’s job. This ranges from ensuring all artifacts have been properly delivered, to writing down everything that we do regarding the object, to photography. It is essential that anyone who comes upon the object post conservation is able to understand what has been done and why, and see evidence of the object before it was touched.
You can imagine how tempting it is just to poke at an artifact here and there to test the density or porosity, or to pick at those crispy bits of old adhesive. This is something that I find a lot of students in the lab are struggling with as they study their new objects. The problem with poking and prodding the artifact is that you have to make sure you have taken a photograph of what the object looked like before it has undergone any treatment. That includes the occasional test poke that might potentially cause a piece to flake off or crumble.
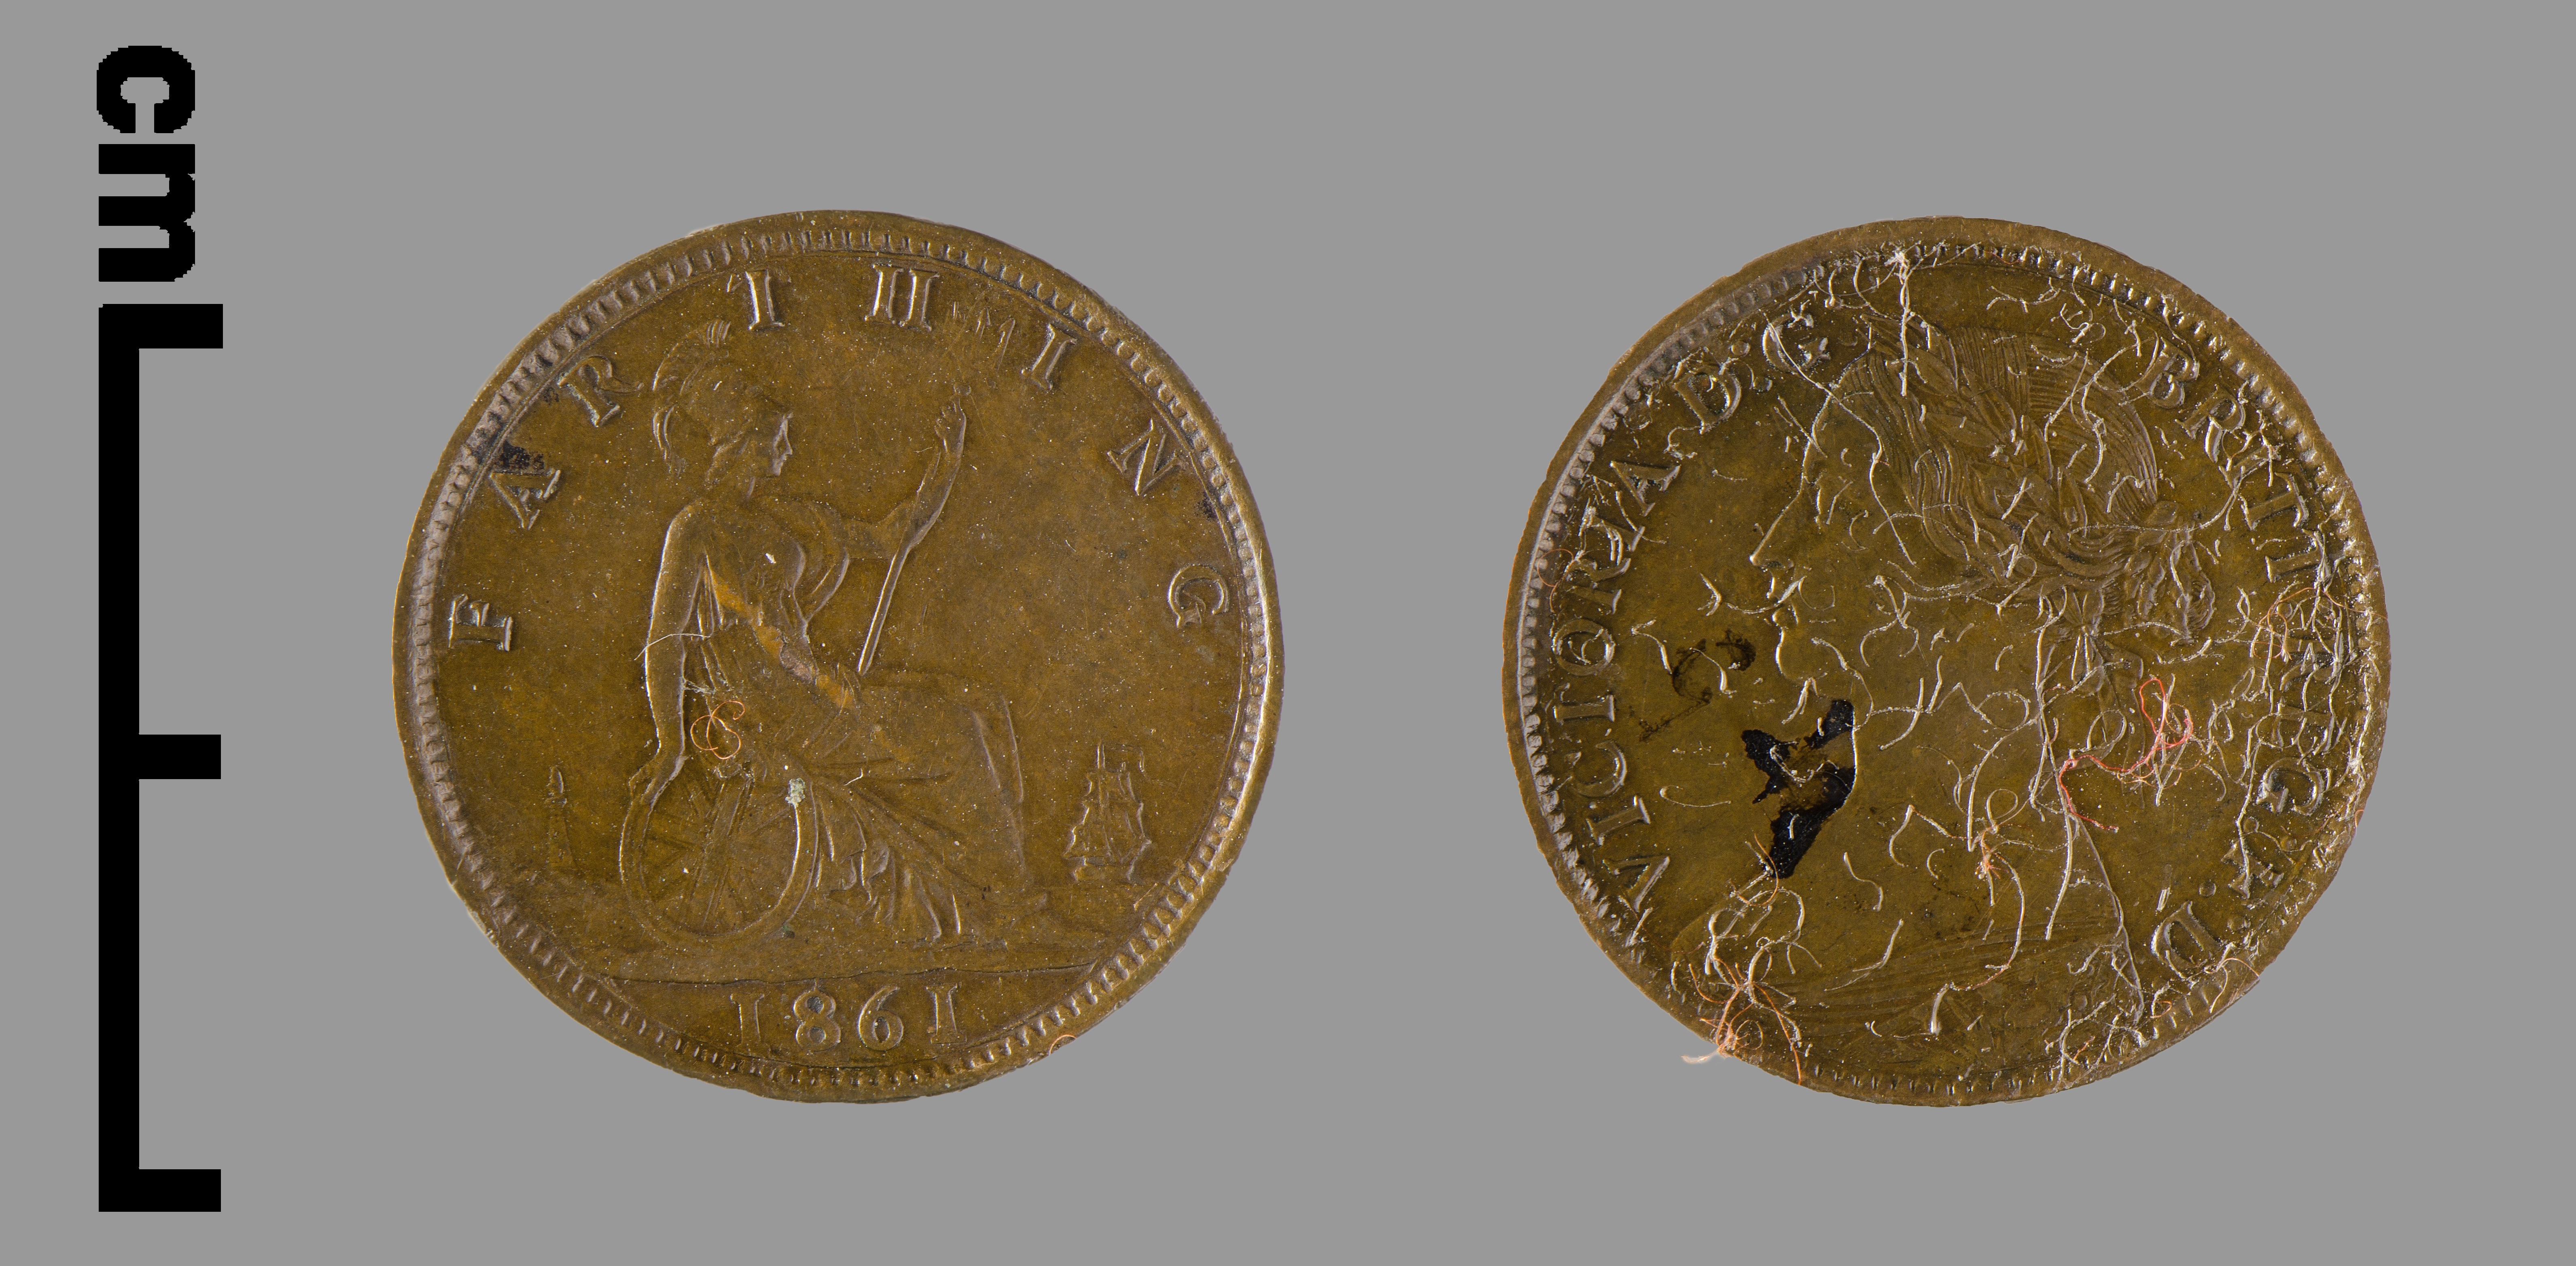
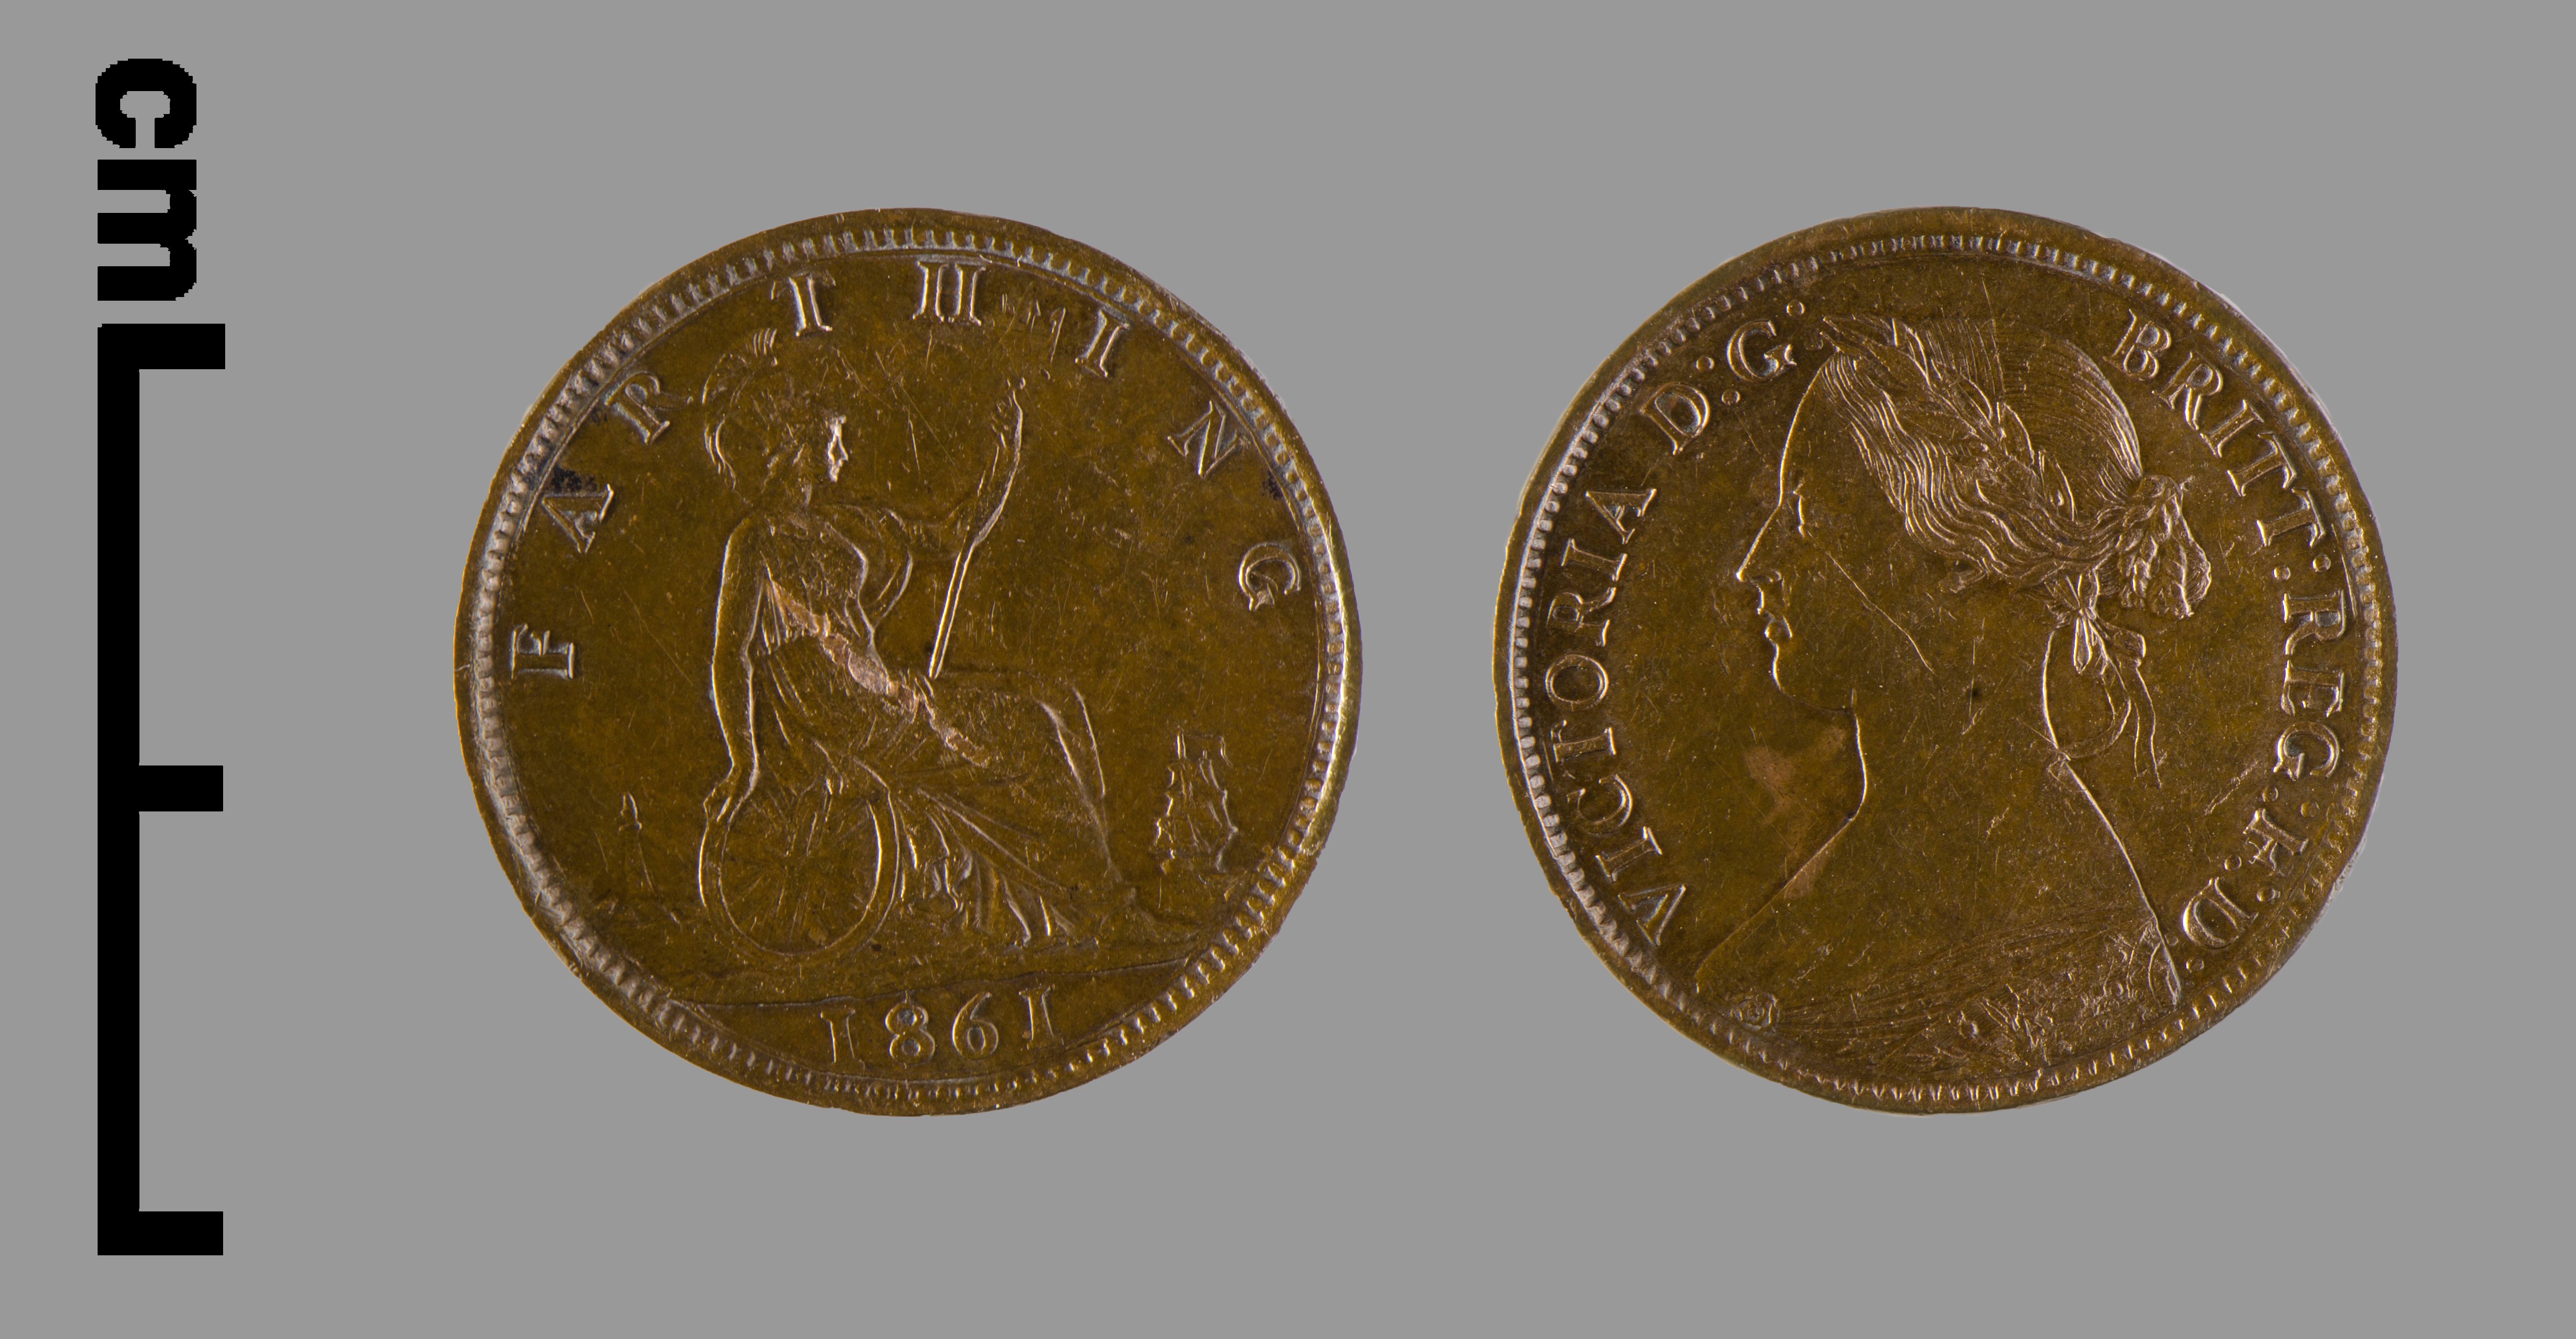
Before and After photographs of a Victorian coin from the Brecknock Museum in Powys
Fortunately, we have access to a photography lab where we are able to borrow Nikon or Pentax cameras and shoot professional photographs with proper lighting. We have a range of lighting at our disposal: LED, Fluorescent, or Ultra Violet (UV). LEDs give off less heat and less Ultraviolet light than Fluorescent lighting, which can be important if your artifact is temperature and UV sensitive. Fluorescent lighting tends to cause softer edges and shadows. Different light sources also have different color temperatures and different effects on how we perceive colors. UV lighting is used to show previous adhesives or markings that might have been placed on an artifact.
Occasionally, we have objects that are too large to transport to the photography lab, such as our sarcophagus, whose lid is being prepared for cleaning and repairs. This week’s challenge was to take a proper “before” photo of the inside of the sarcophagus lid with good lighting across its entire length.
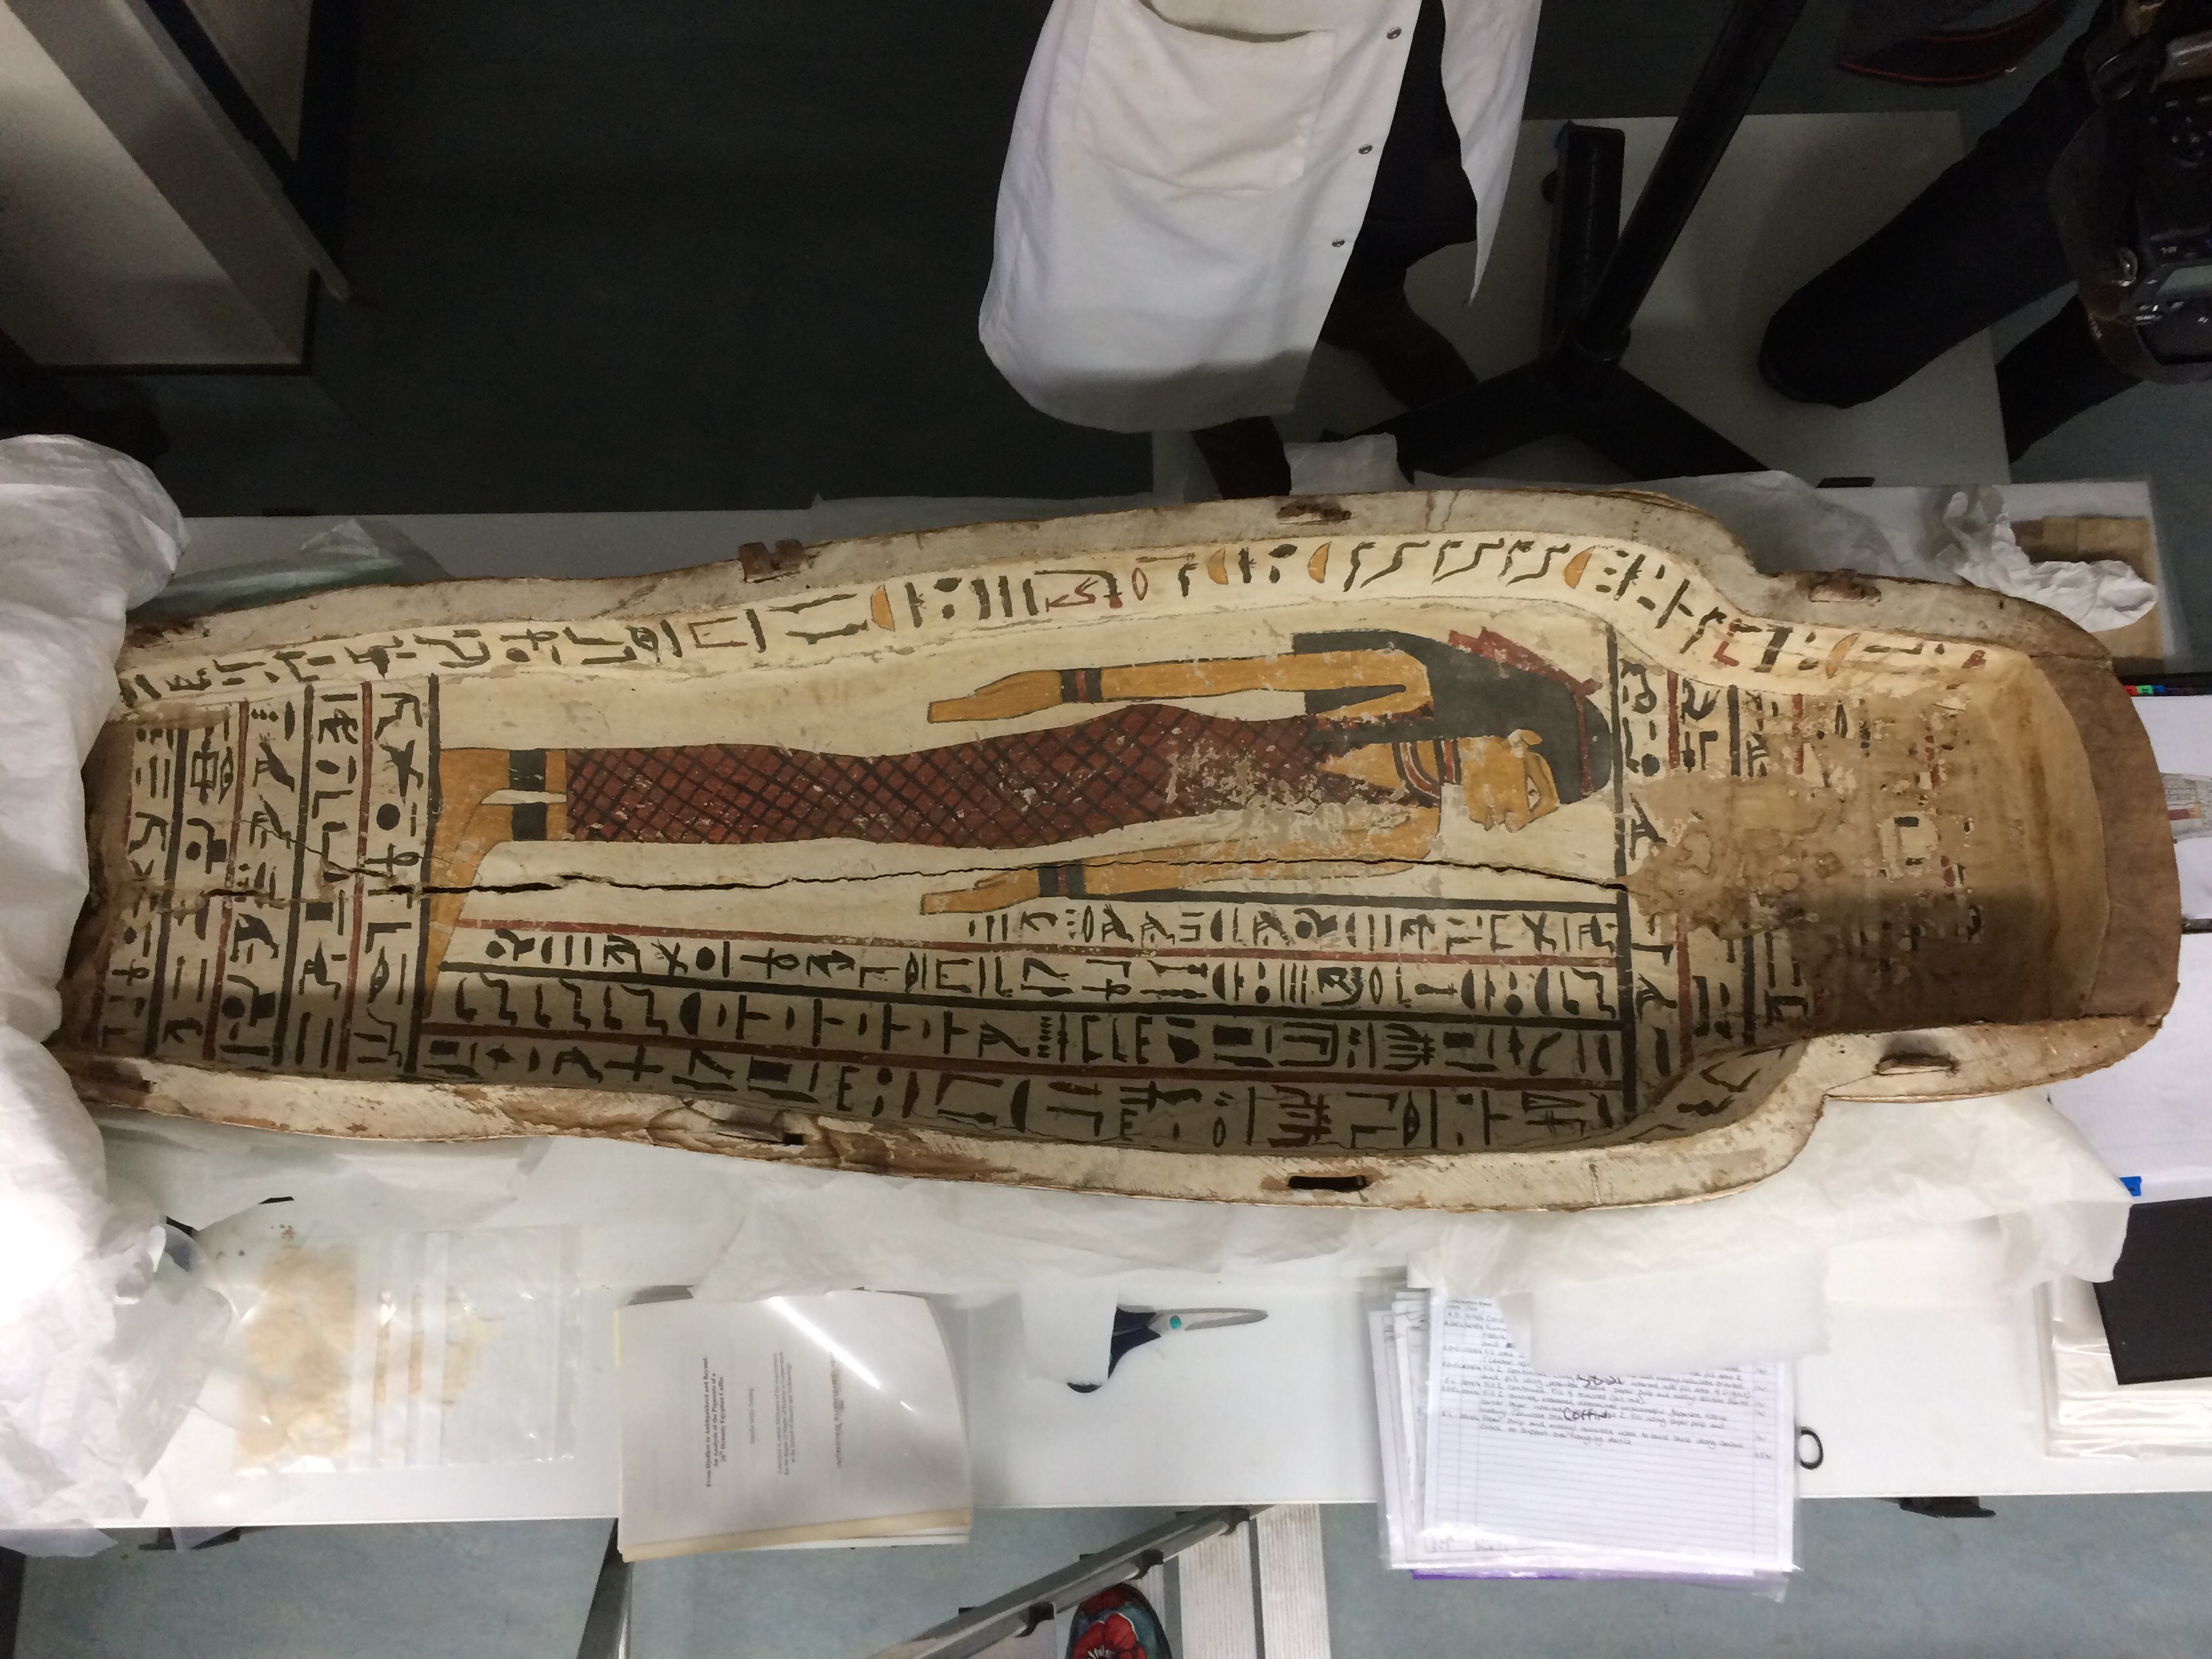
The team initially attempted to leave the sarcophagus on the table where it has made its home and take photos from above. Using LED lights, four photos were taken of different parts of the lid as, even at ceiling height, the camera could not capture a full image of the lid. From there they attempted to overlay the photos in Photoshop with a method called “stitching.” Unfortunately, this method did not work out, as the photos were taken at slightly different distances from the object and did not line up.
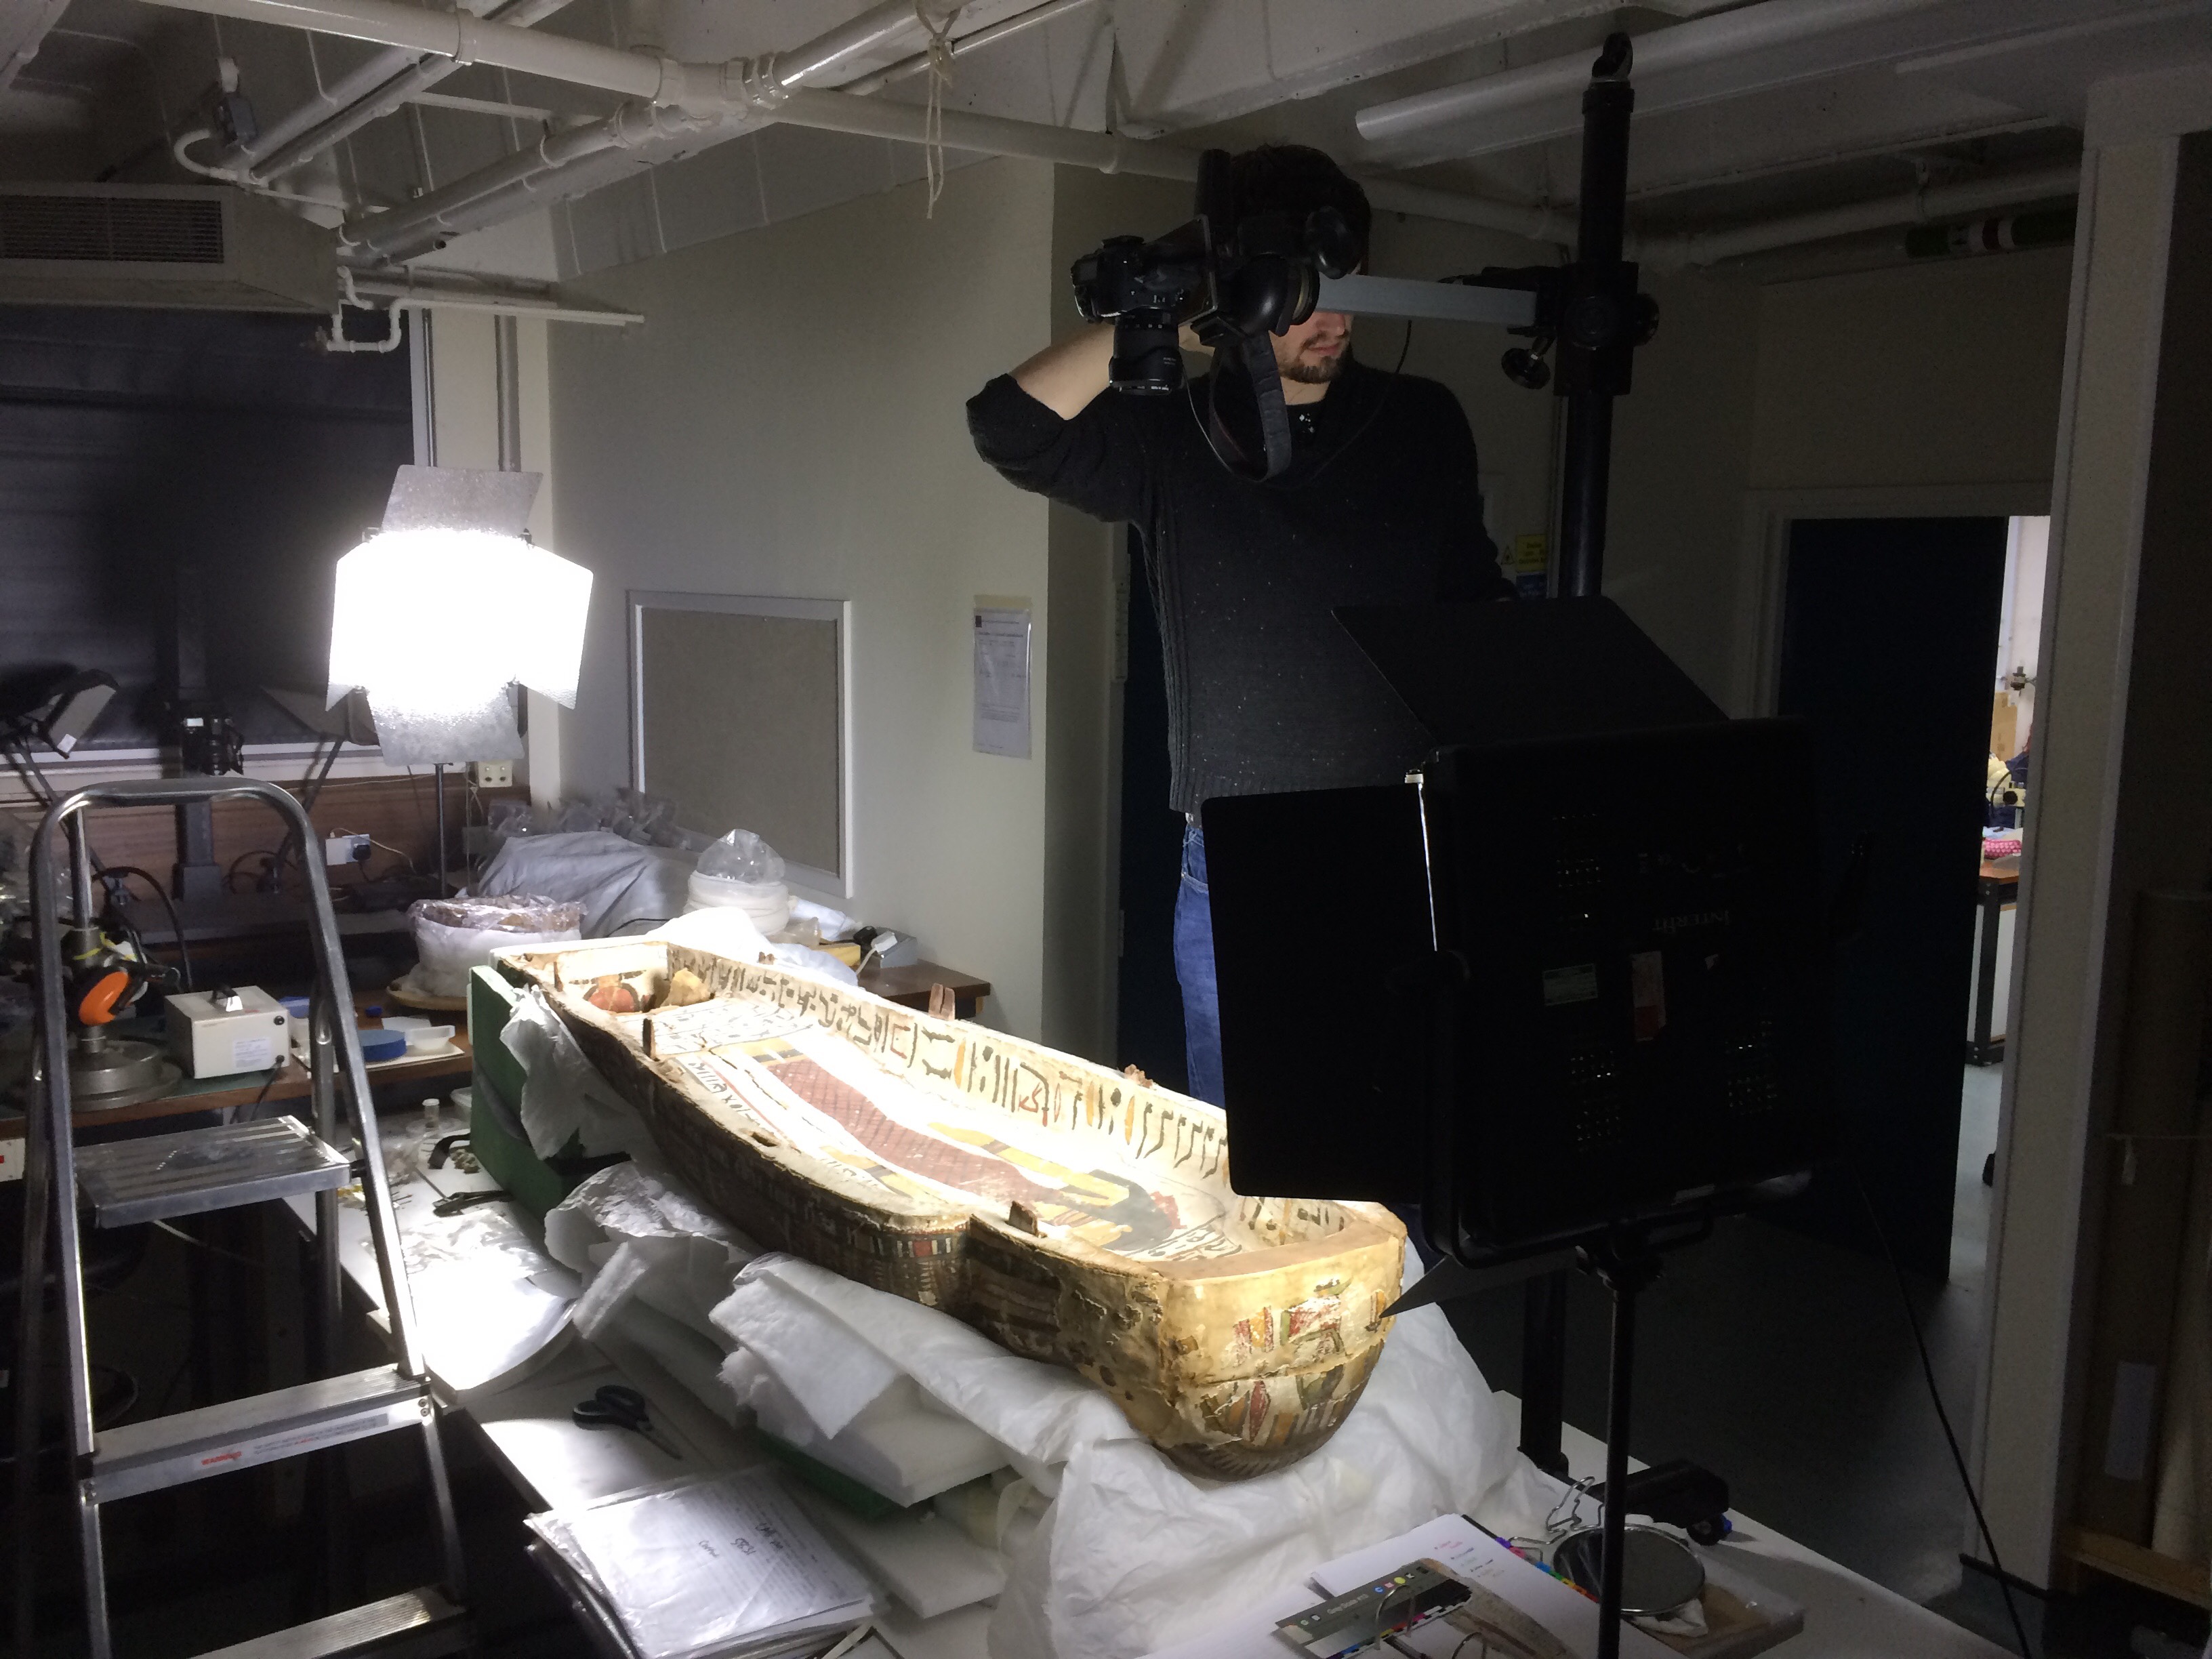
With photographing such a large object, the main struggle is that the camera lens can only take in so much of an image at a specific height. So on Monday, in an attempt to counter this, the team carefully brought the sarcophagus lid down to the floor (with reinforcements from the lab for extra safety) and brought all of the photography equipment upstairs again. The camera was still not far enough from the lid to capture the full image, so the boom stand was put on a short table to increase its height.
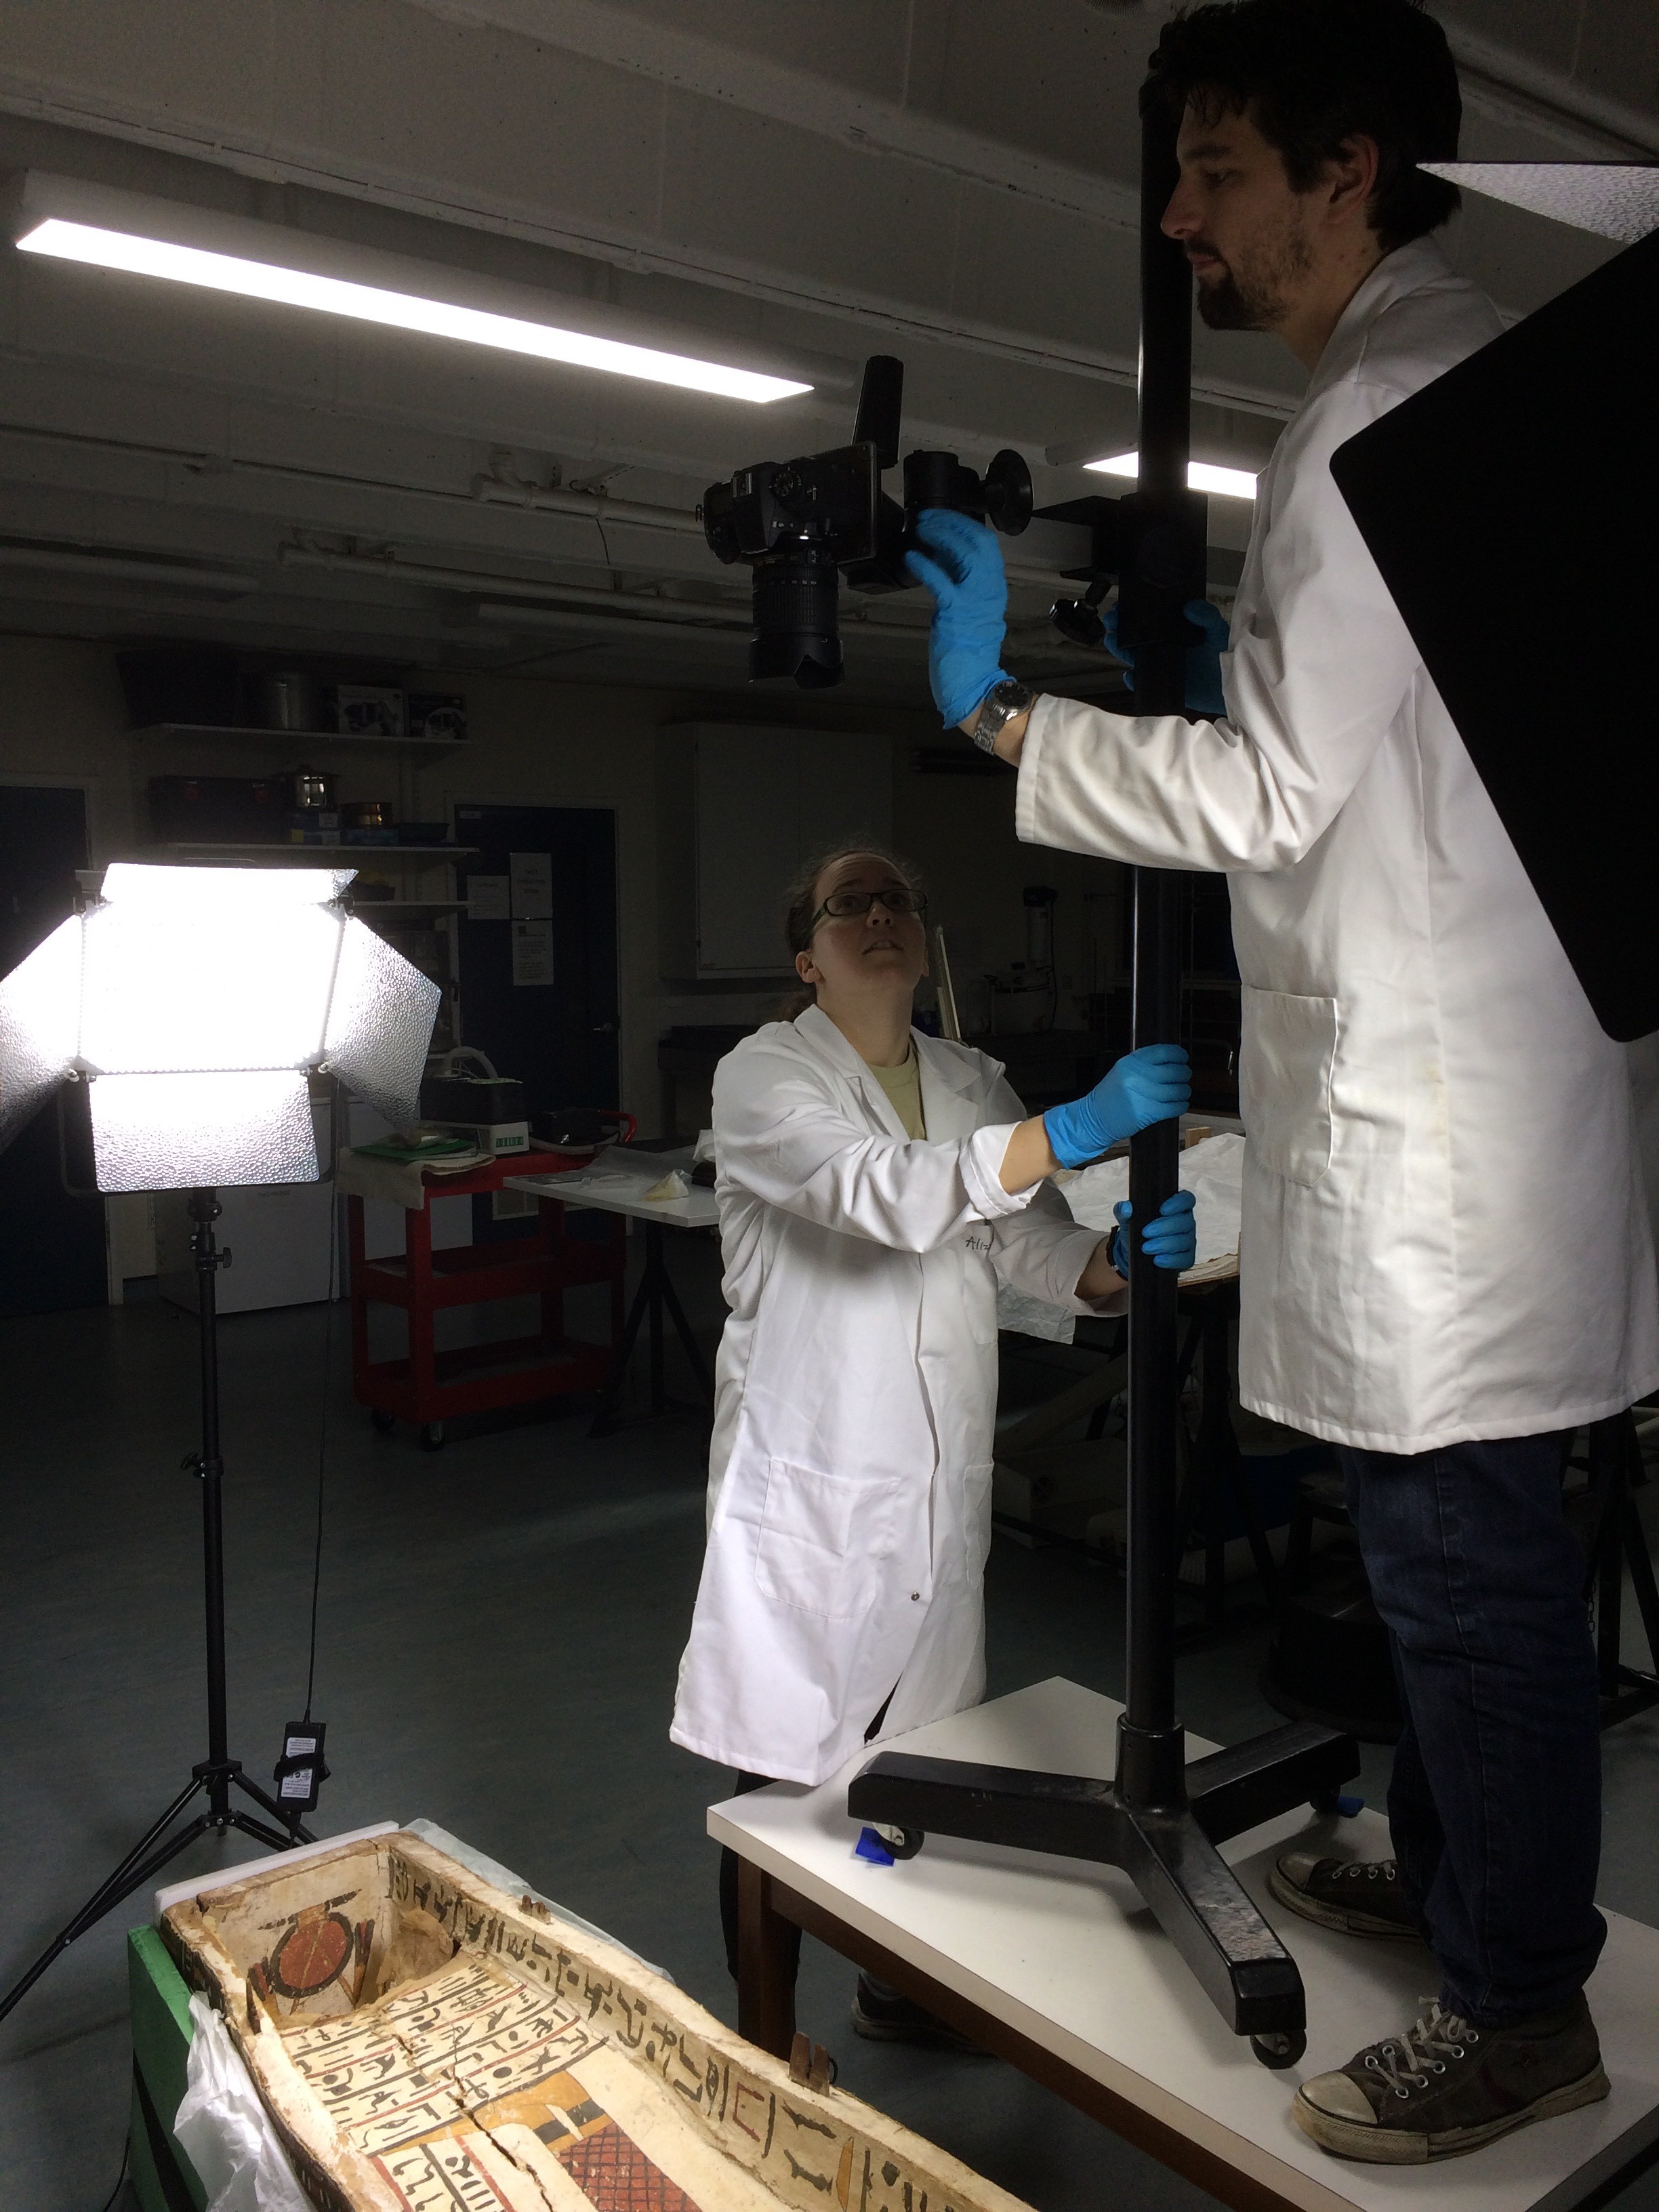
Another problem arose when it was agreed that the foot of the lid was still far too dark in photos to see details with just the two LED light panels, so a third overhead light was brought up. This improved the evenness of the lighting, although it caused issues with brightness levels and focus, which were ultimately improved by setting the light up across from the camera rather than behind it. Small adjustments can make a big difference!
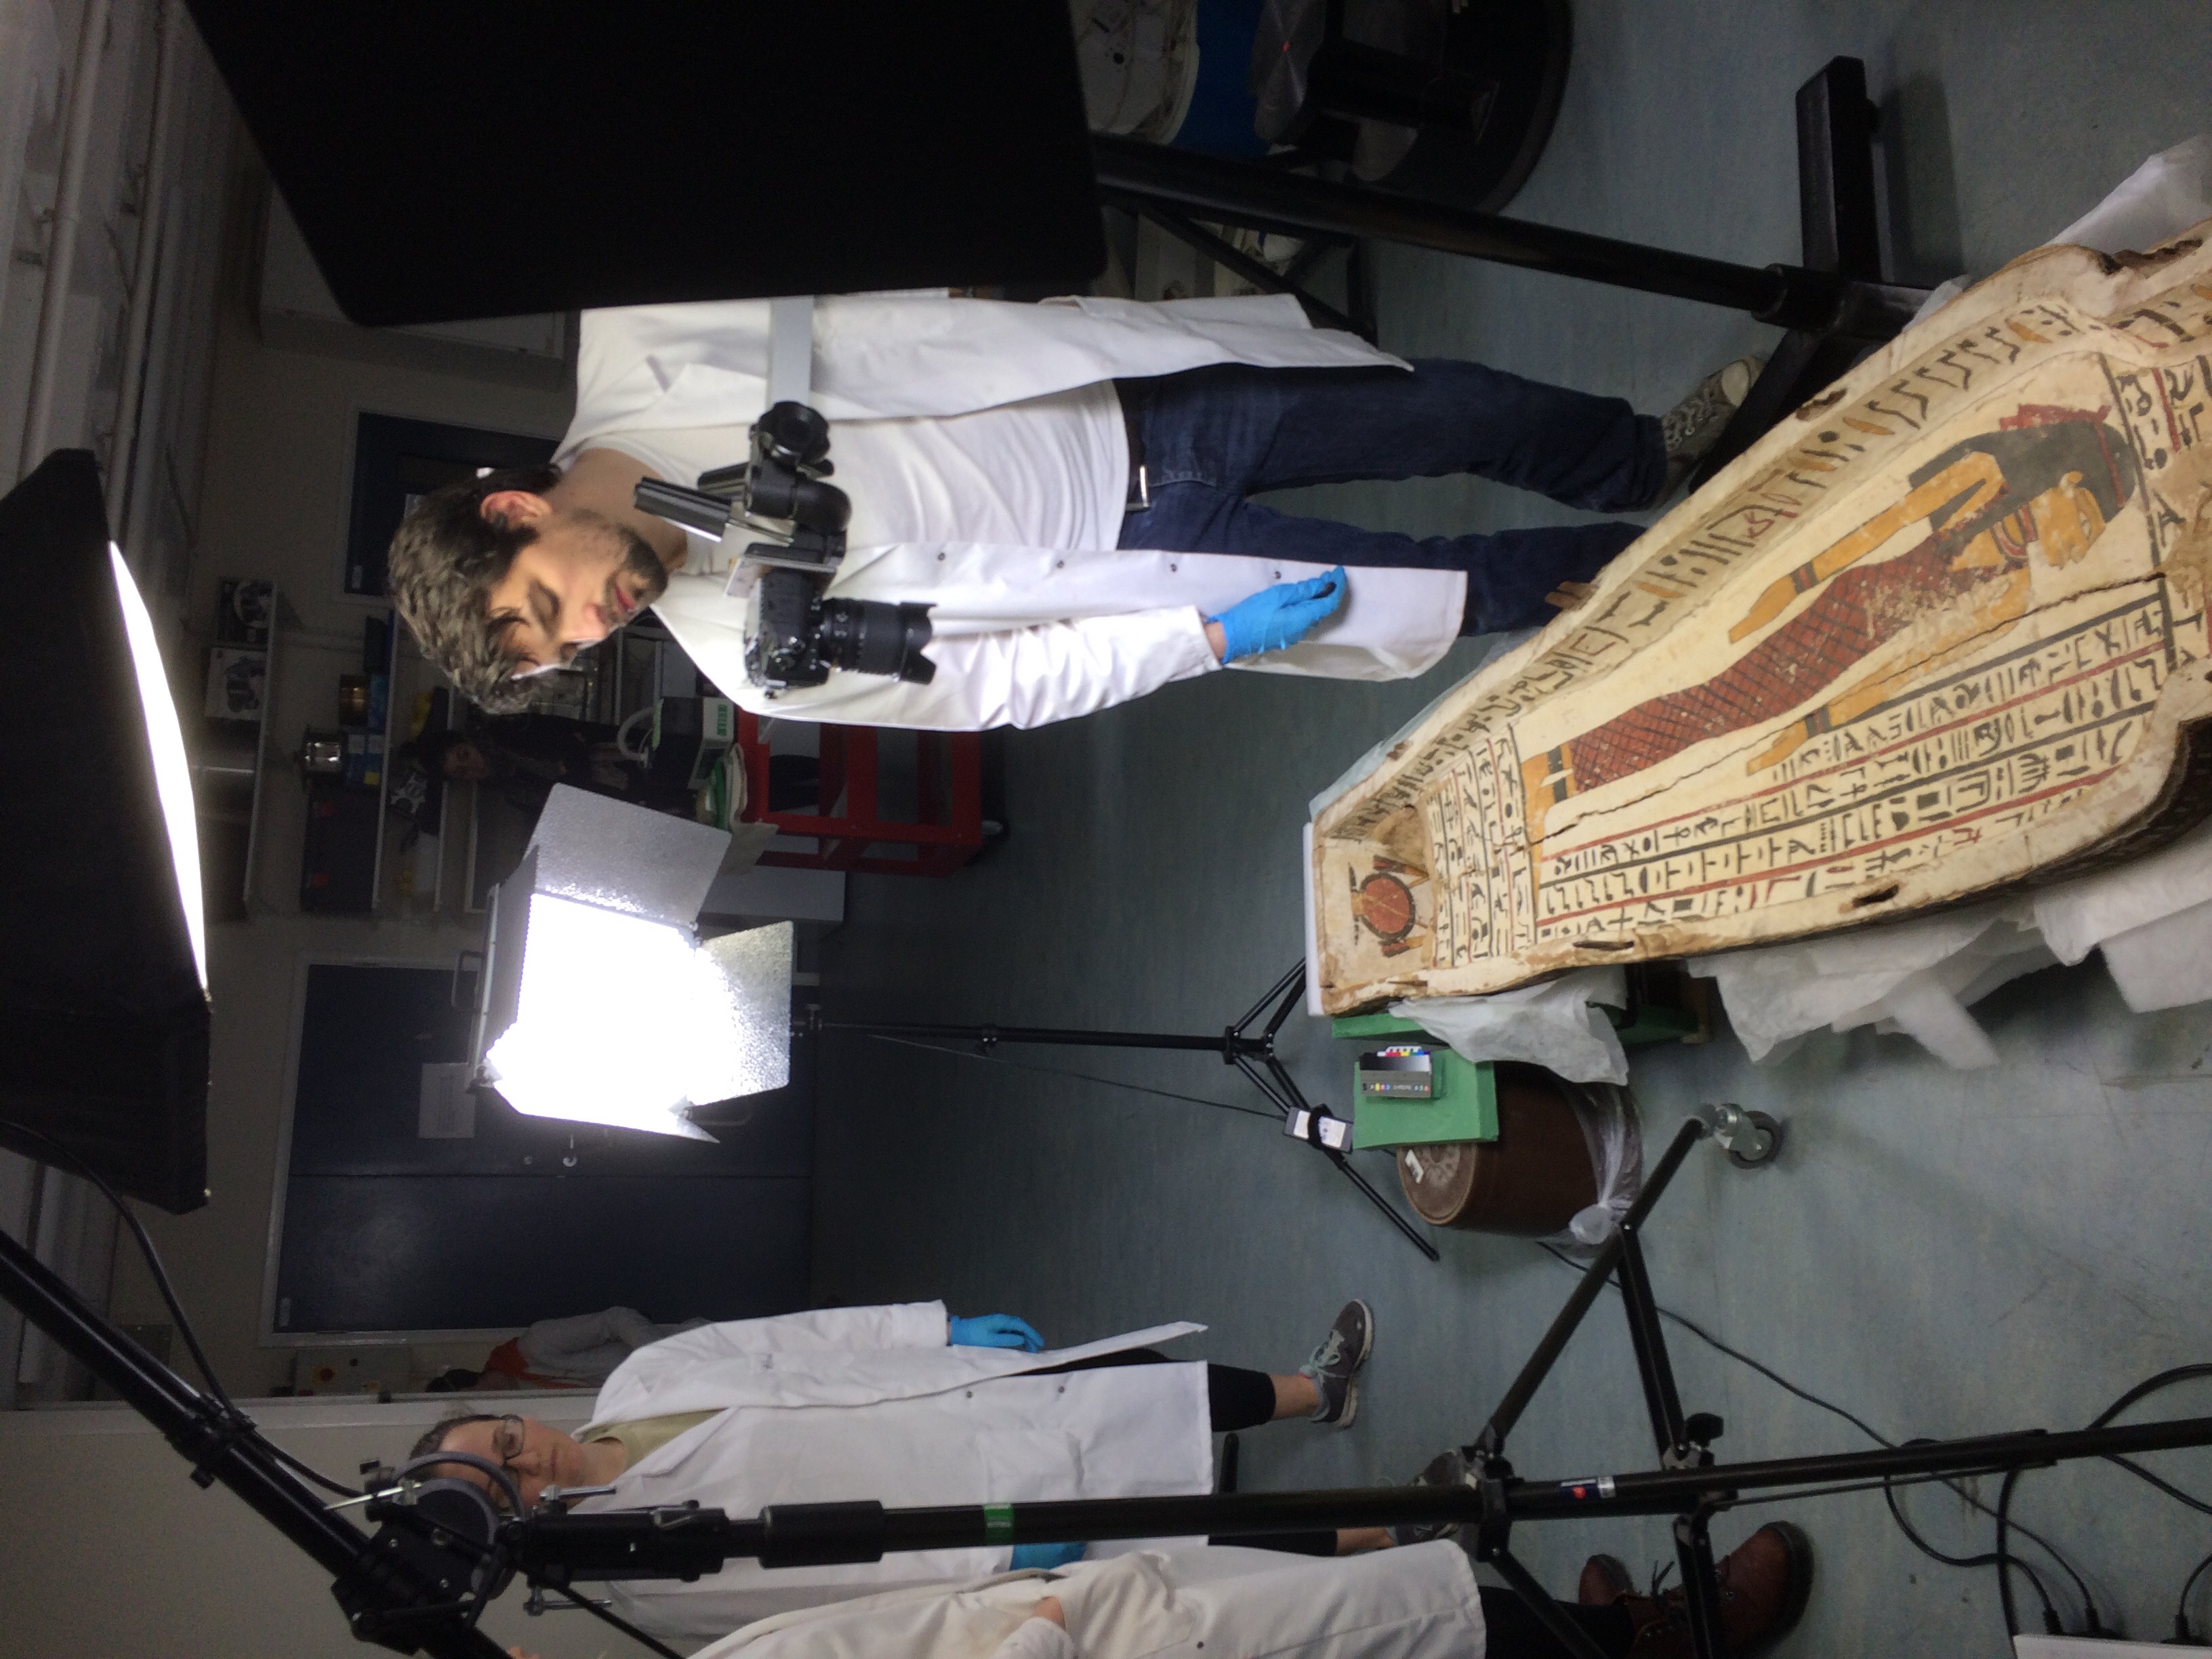
The team of four took a few types of photographs so that if one did not work there would be other options: it would not be ideal to have to move the sarcophagus lid once again if not necessary! The first type was a straight over head full length shot. These photos looked good on the camera screen but when zoomed in on the computer, the focus was a little too blurry for satisfaction despite adjustments to ISO (sensitivity to incoming light) and aperture (depth of field). The second method was to take 3 photos of the lid to be stitched together, but keeping the camera in the same place and only rotating the camera angle. This could cause potential bending of the artifacts in the images. The third was again 3 images to be stitched, but the camera faced straight down each time and was moved along a line of tape on the floor to ensure as much similarity as possible in the photos. The potential problem is that head of the sarcophagus lid was a little higher than the feet and that would change the focus on the camera.

Ultimately, the full sarcophagus photo was deemed satisfactory for treatment documentation, with the stitched photos to look at specific areas in more detail. Photographs are currently still in production but here is a sneak peak of the current status:
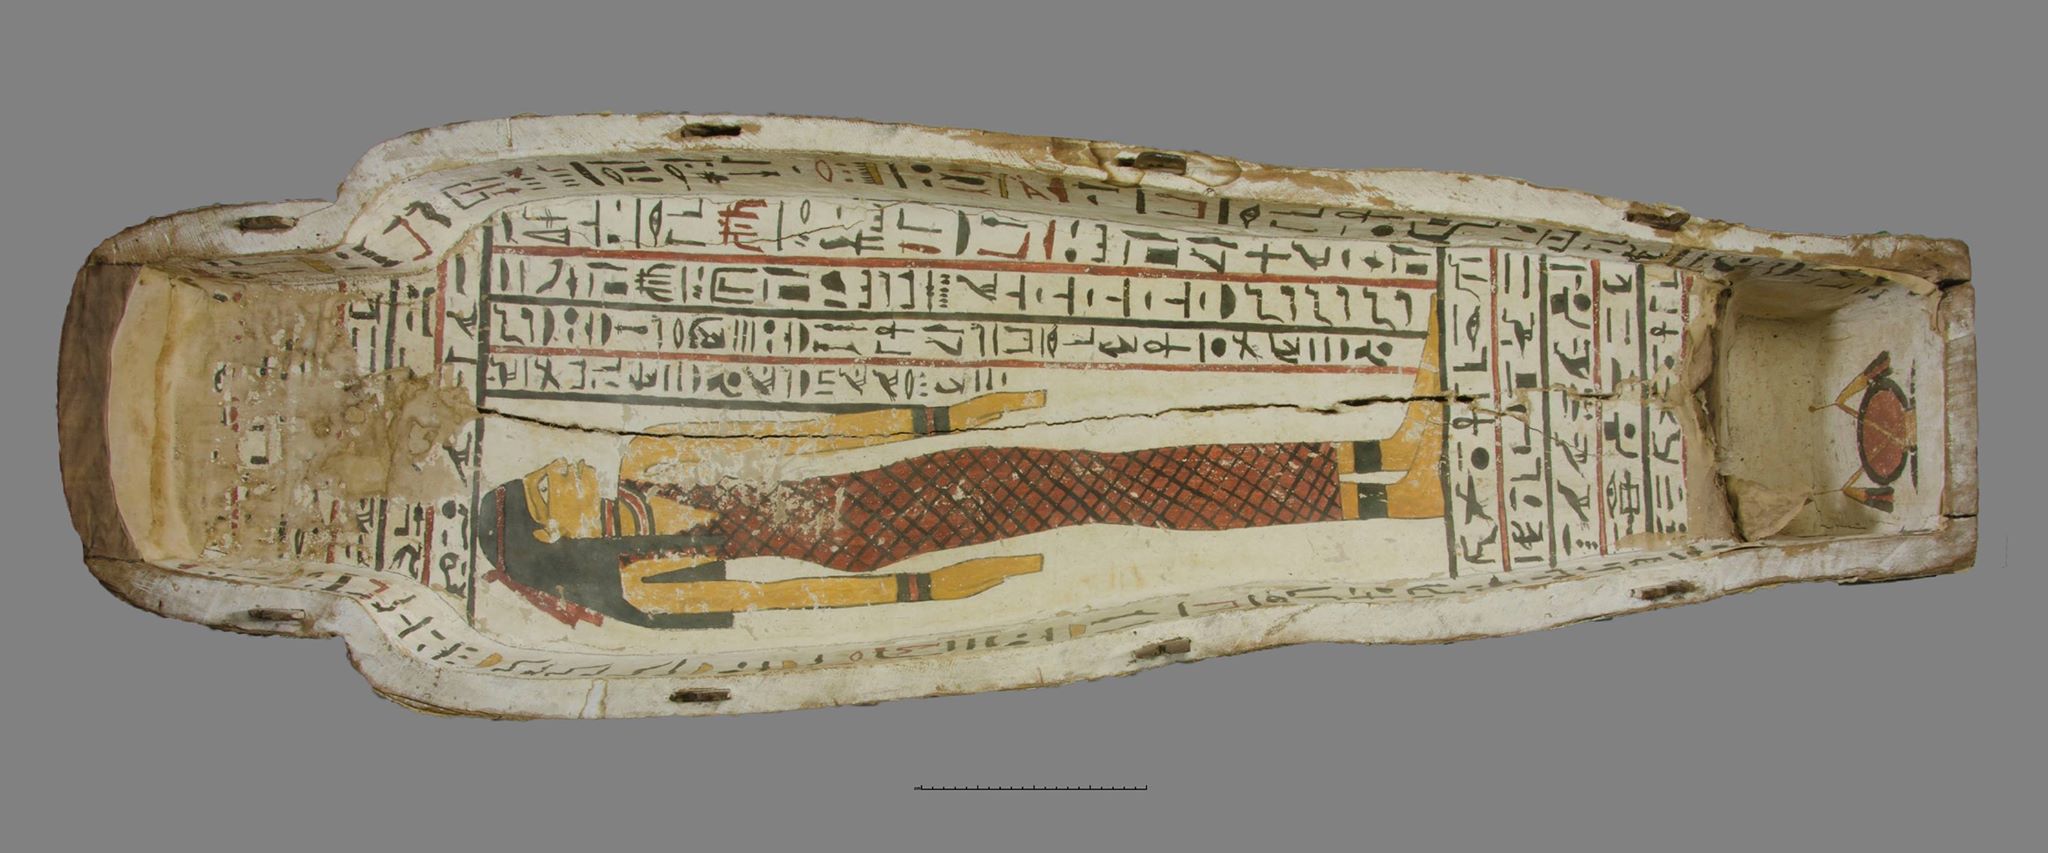
Photo courtesy of Chloe Pearce
As the treatment of the sarcophagus lid progresses, we will post updates letting you know how it is going. Until then, please feel free to ask questions!
All photos not already noted courtesy of Stephanie Whitehead
Comments
5 comments
Comments are closed.
- March 2024 (1)
- December 2023 (1)
- November 2023 (2)
- March 2023 (2)
- January 2023 (6)
- November 2022 (1)
- October 2022 (1)
- June 2022 (6)
- January 2022 (8)
- March 2021 (2)
- January 2021 (3)
- June 2020 (1)
- May 2020 (1)
- April 2020 (1)
- March 2020 (4)
- February 2020 (3)
- January 2020 (5)
- November 2019 (1)
- October 2019 (1)
- June 2019 (1)
- April 2019 (2)
- March 2019 (1)
- January 2019 (1)
- August 2018 (2)
- July 2018 (5)
- June 2018 (2)
- May 2018 (3)
- March 2018 (1)
- February 2018 (3)
- January 2018 (1)
- December 2017 (1)
- October 2017 (4)
- September 2017 (1)
- August 2017 (2)
- July 2017 (1)
- June 2017 (3)
- May 2017 (1)
- March 2017 (2)
- February 2017 (1)
- January 2017 (5)
- December 2016 (2)
- November 2016 (2)
- June 2016 (1)
- March 2016 (1)
- December 2015 (1)
- July 2014 (1)
- February 2014 (1)
- January 2014 (4)
Good record of problem solving.
You guys should look at using photogrammetry and orthorectified images — much better results that stitching in Photoshop.
Thanks! We’ll have to look into it.
Thanks for sharing this. Curious, who’s sarcophagus was this ?
This coffin has a rather complex story – more than one owner! For a summary of the work done on it so far, here’s a presentation that was part of the ‘Wonderful Things’ Conference at The Egypt Centre, Swansea University.